Form Builder
The Form Builder is a drag-and-drop tool for creating registration forms that collect information from your event attendees. You can build forms inline during event creation, save them to your organization's form repository for reuse, or select a previously saved form.
Opening the Form Builder
You access the Form Builder when configuring an RSVP or Sign-up event:
- In the event creation or editing flow, locate the Registration Form section.
- Choose one of the following options:
- Create New Form -- Opens a blank form builder.
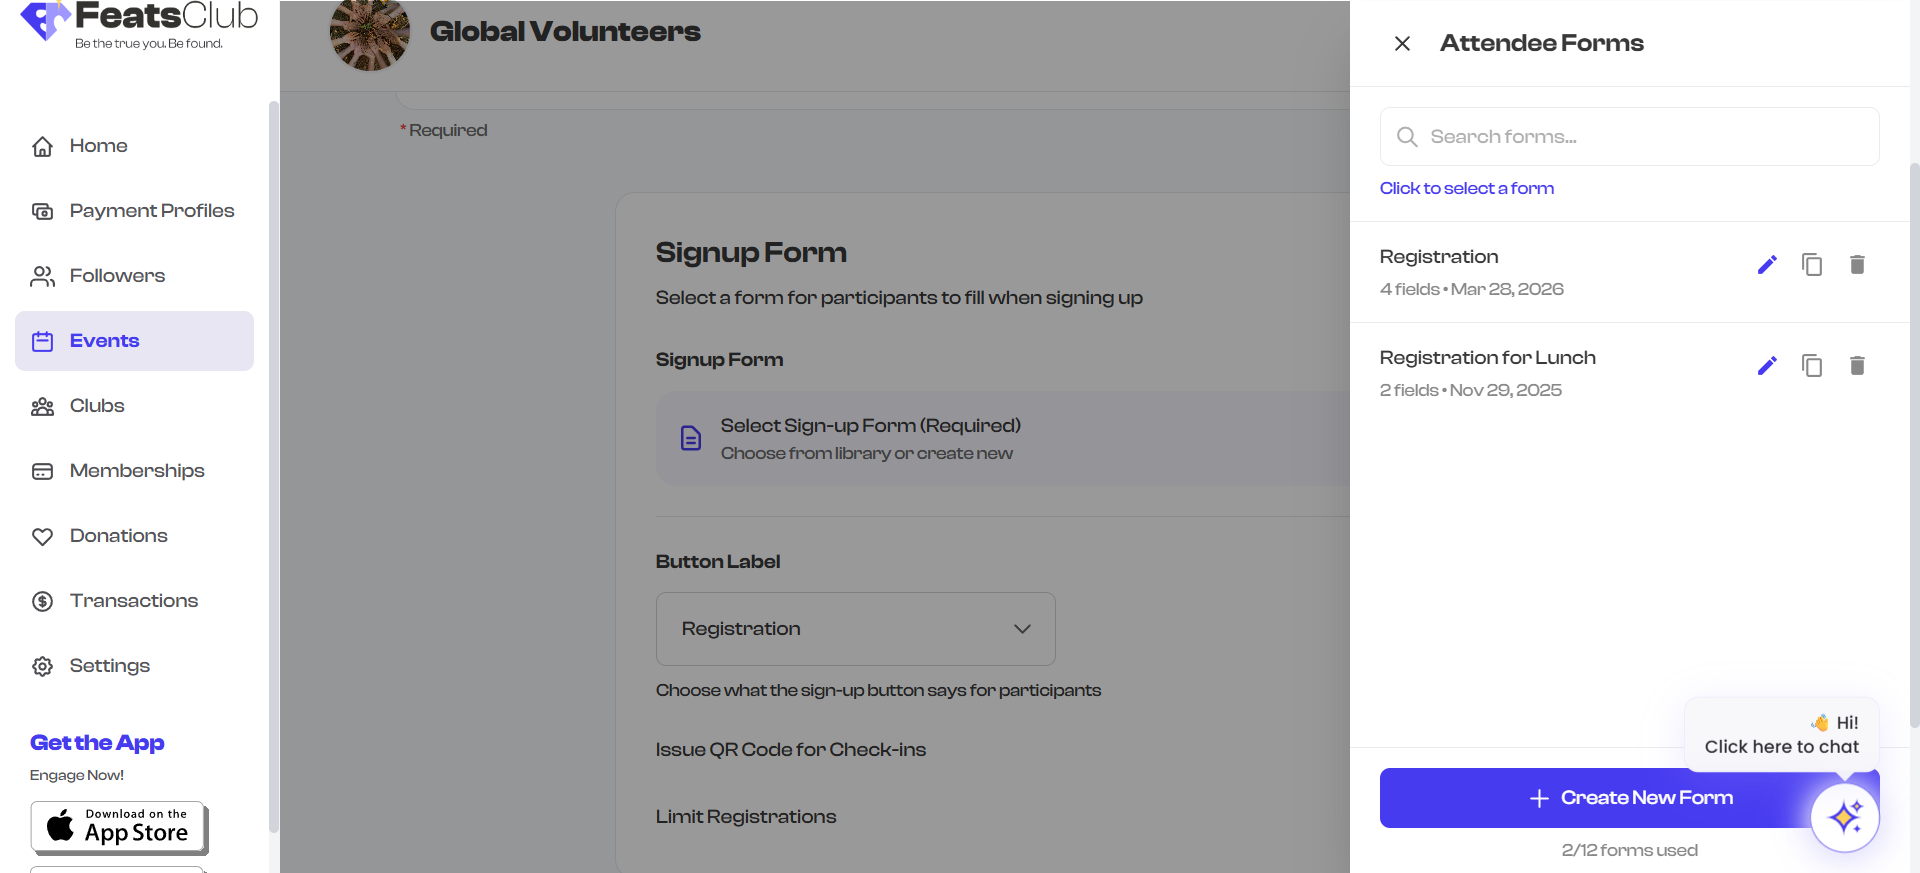
- Select from Repository -- Opens a list of your previously saved forms.
- Use Default Participant Form -- Applies a pre-built form with Name, Email, and Phone fields.
Building a Form
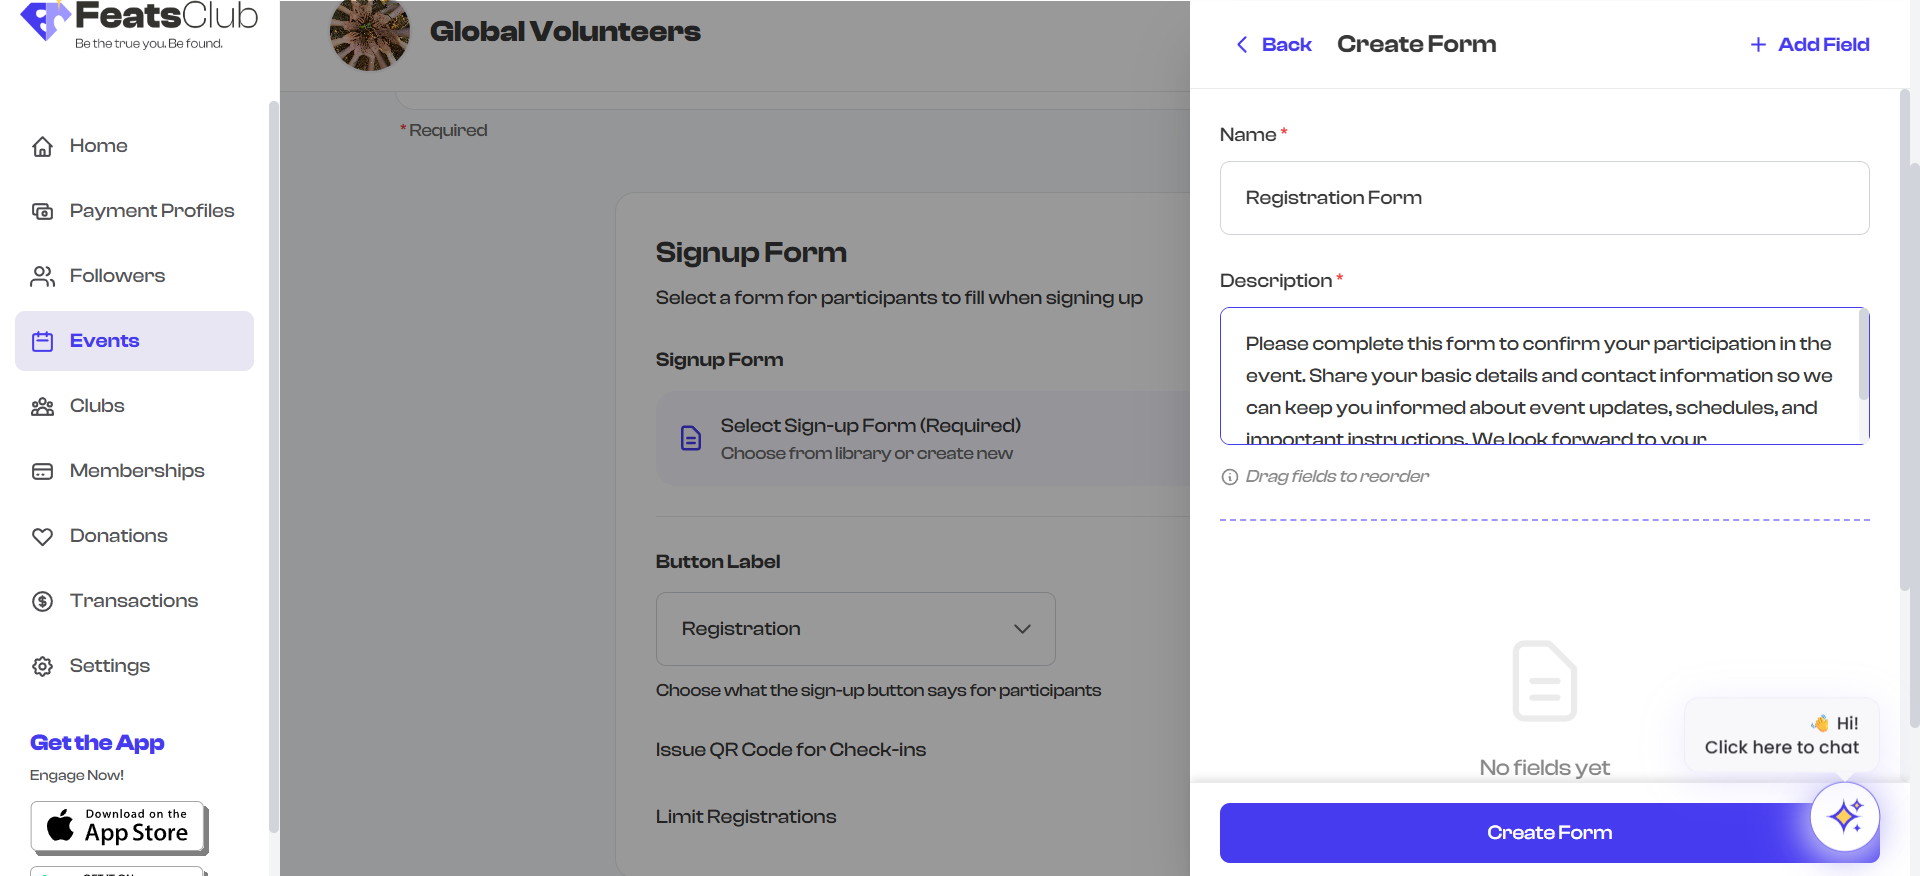
Form Name and Description
Every form requires a name and a description:
- Name -- A short, descriptive title for the form (for example, "Workshop Registration" or "Volunteer Sign-up"). Maximum 100 characters.
- Description -- A brief explanation of what the form collects (for example, "Please provide your details so we can prepare materials for the workshop"). Maximum 1,000 characters.
Both fields are required. The form name is visible to attendees at the top of the registration form.
Adding Fields
- Select the Add Field button at the top of the form builder or at the bottom of the fields list.
- The field type selector appears, organized into four categories:
- Auto-Fill Fields (recommended) -- Name, Email, Phone, Address, Membership ID
- Text Fields -- Short Answer, Long Answer
- Choice Fields -- Single Choice (radio buttons), Multiple Choice (checkboxes)
- Special Fields -- URL/Link, File Upload
- Select a field type to add it to your form.
- Configure the field's question text, options (if applicable), and required status.
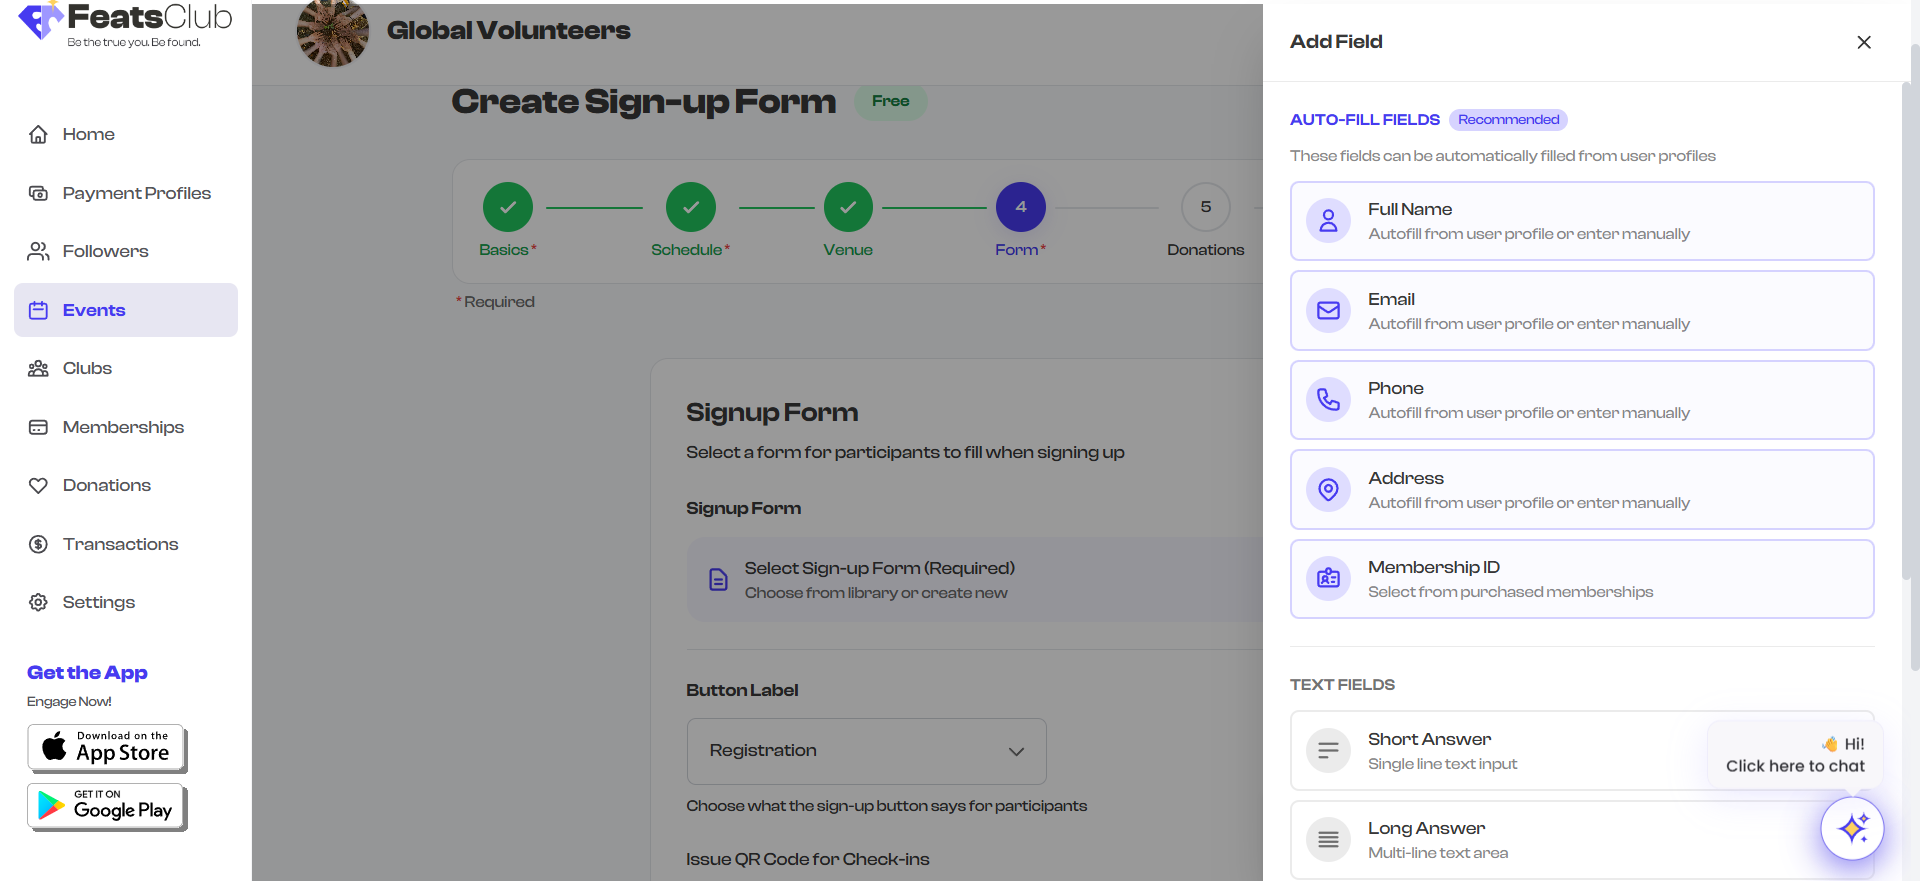
Start with Auto-Fill Fields (Name, Email, Phone) as your first fields. These are marked as recommended because they can be automatically populated from the attendee's FeatsClub profile, making registration faster.
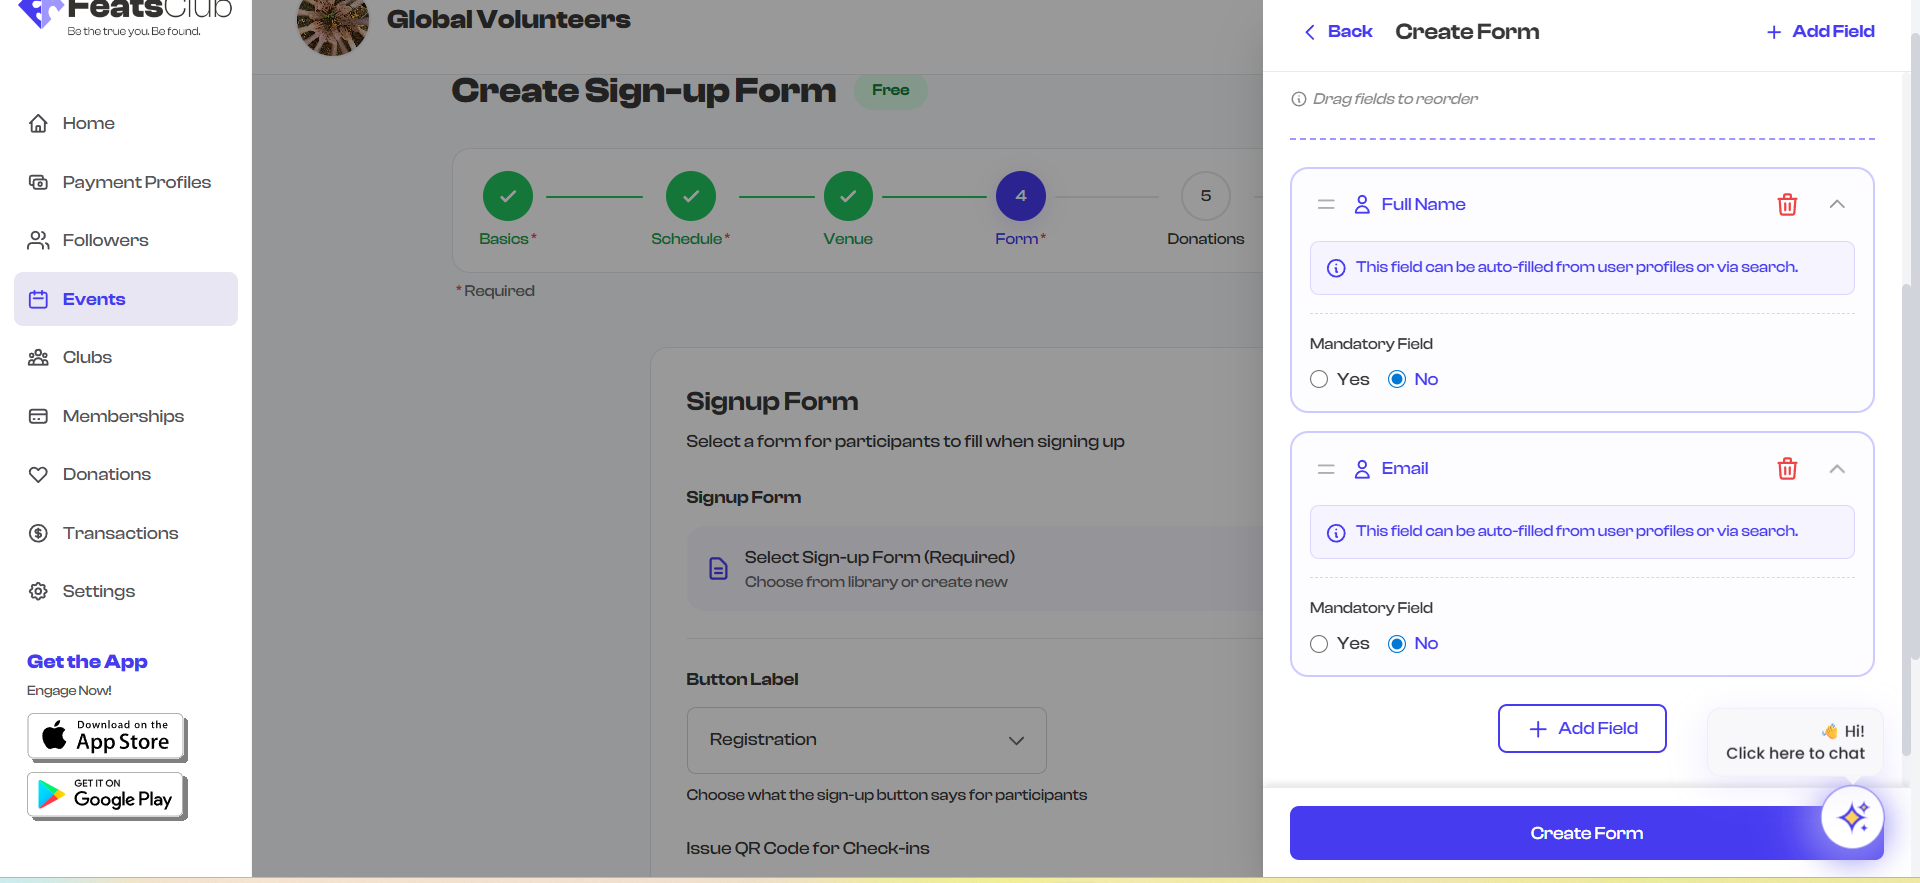
Configuring Fields
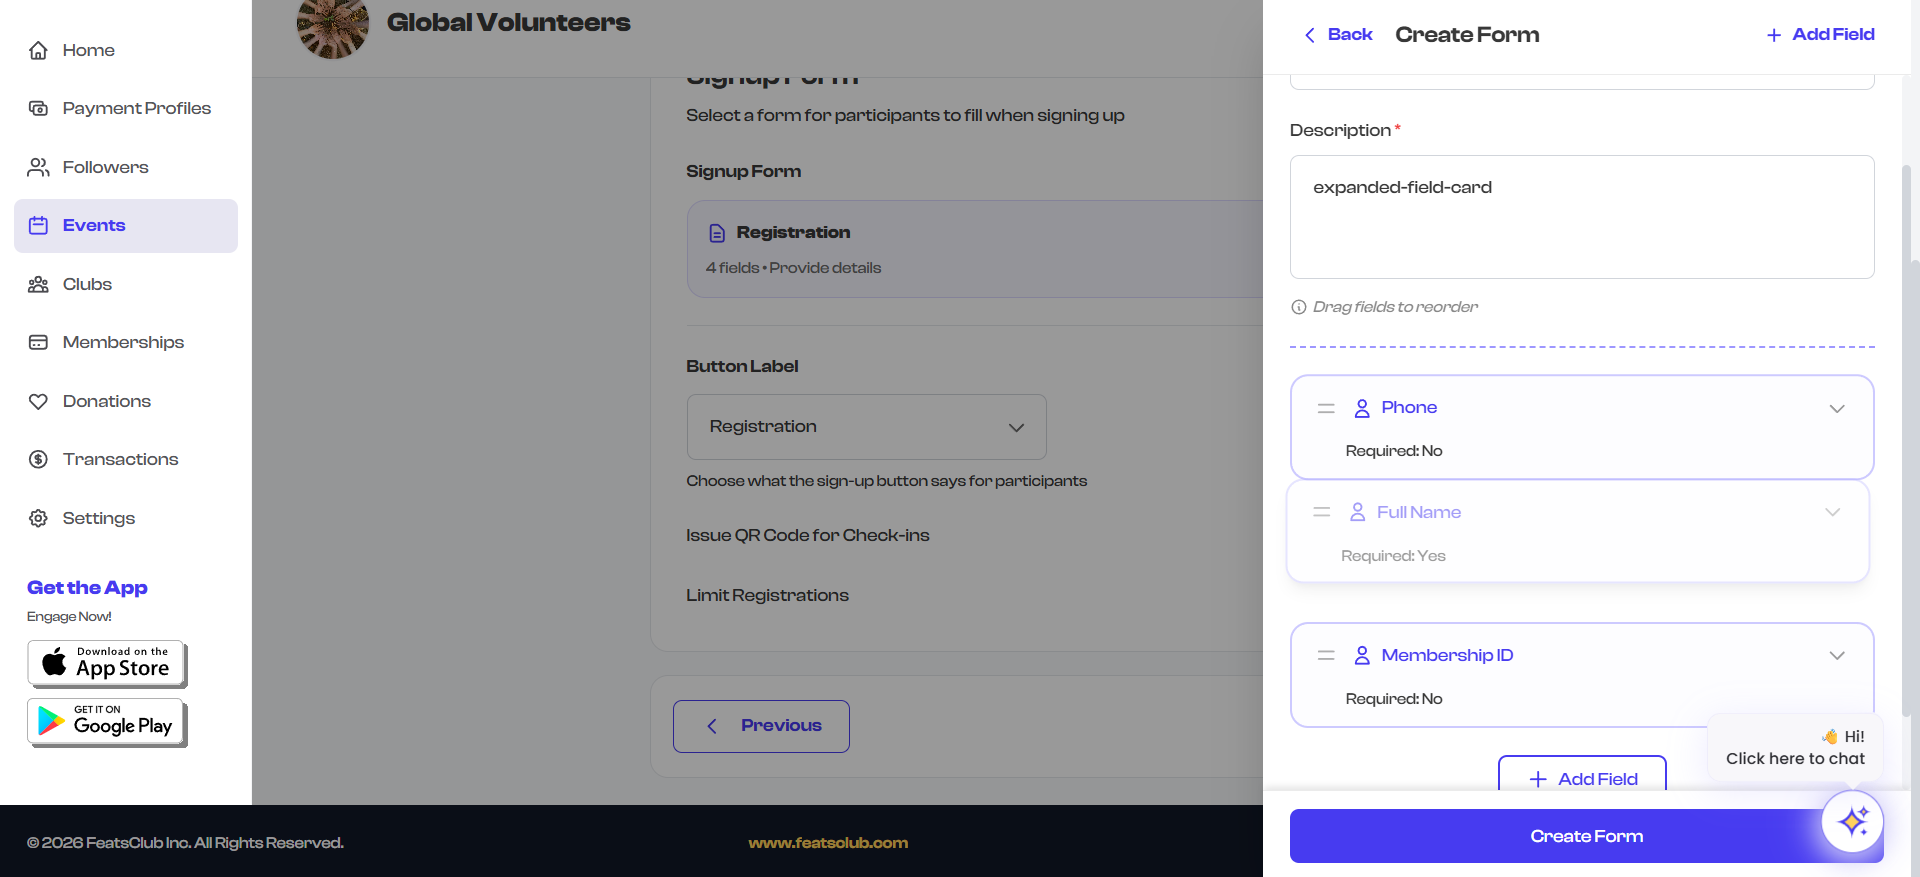
After adding a field, it appears as an expandable card in the form builder. Select the card to expand it and configure:
- Question / Title -- The label shown to attendees (required for all field types).
- Required Toggle -- Whether the field must be filled out before submitting.
- Options (for choice fields) -- Add, remove, and reorder the available choices.
- File Type (for file upload fields) -- Restrict uploads to specific file types.
- Placeholder (for URL fields) -- Hint text shown in the input.
Reordering Fields
Drag and drop fields to change their order:
- Hover over the drag handle on the left side of a field card.
- Click and drag the field to its new position.
- Release to drop it in place.
The form will be presented to attendees in the order shown in the builder.
Duplicating Fields
To quickly create a similar field:
- Locate the field you want to copy.
- Select the duplicate icon on the field card.
- A copy of the field appears directly below the original.
- Edit the duplicated field to make your changes.
Deleting Fields
To remove a field from the form:
- Select the delete icon on the field card.
- The field is removed immediately.
Deleting a field cannot be undone while you are in the form builder. If you accidentally delete a field, close the form builder without saving and reopen it to restore the previous state.
Collapsing and Expanding Fields
When your form has many fields, you can collapse individual field cards to see an overview:
- Select the collapse arrow on a field card to minimize it, showing only the field type and question text.
- Select it again to expand and edit.
This is especially useful for long forms where you need to scroll through many fields.
Form Validation
Before saving, the form builder validates your work. You must meet these requirements:
| Requirement | Details |
|---|---|
| Form name | Must not be empty |
| Form description | Must not be empty |
| At least one field | The form must contain at least one field |
| Field questions | Every field must have a question or title filled in |
| Choice options | Single Choice fields need at least 2 options; Multiple Choice fields need at least 1 option |
If validation fails, an error message appears at the bottom of the form builder indicating which requirement is not met.

Saving and Reusing Forms
Saving a Form
Select the Create Form (or Update Form if editing) button at the bottom of the form builder to save. The form is attached to your event and also saved to your organization's form repository.
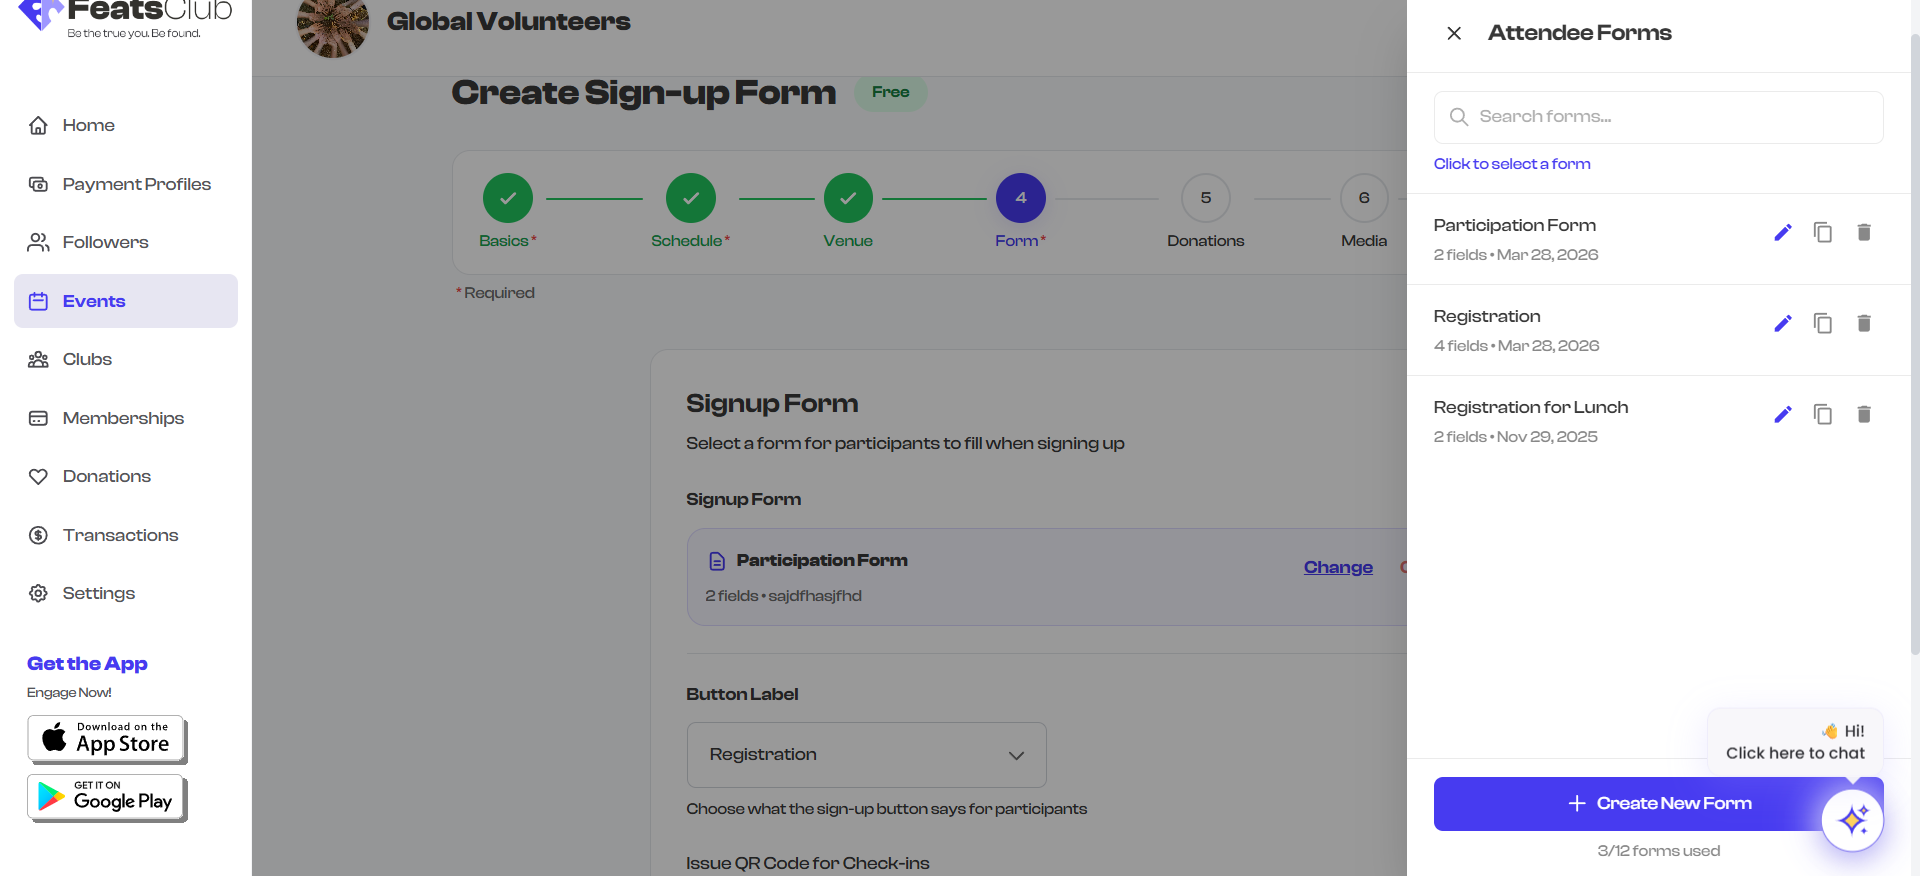
Form Repository
Your organization maintains a repository of saved forms. This lets you:
- Reuse forms across events -- Select a saved form when creating a new event instead of building from scratch.
- Maintain consistency -- Use the same registration form for recurring events.
- Build a library -- Create forms for different use cases (workshop registration, volunteer sign-up, feedback collection) and reuse them.
To select a saved form:
- In the Registration Form section, choose Select from Repository.
- Browse your saved forms.
- Select one to attach it to the current event.
When you select a form from the repository, a copy is attached to your event. Editing the form on one event does not affect other events that use the same form.
Default Participant Form
If you need a quick form without building one from scratch, use the Default Participant Form. It comes pre-configured with three fields:
| Field | Type | Required |
|---|---|---|
| Full Name | Auto-fill (Name) | Yes |
| Email Address | Auto-fill (Email) | Yes |
| Phone Number | Auto-fill (Phone) | No |
These fields auto-fill from the attendee's FeatsClub profile if they are logged in, making registration fast and effortless.
The default participant form is a great starting point. You can always open it in the form builder and add more fields before saving.
Unsaved Changes
If you try to close the form builder while there are unsaved changes, a confirmation dialog appears asking whether you want to discard your changes or keep editing. This prevents accidental data loss.
See Also
- Field Types Reference -- Detailed documentation of every available field type.
- Audience and Volunteer Forms -- How to set up separate forms for different attendee roles.