Step 1: Basic Details
Step 1 of 6 -- Basic Information
The first step of the membership creation wizard is where you define the core identity of your membership: its name, description, member ID format, benefits, and terms & conditions. This is the information that potential members will see when they are considering enrolling.
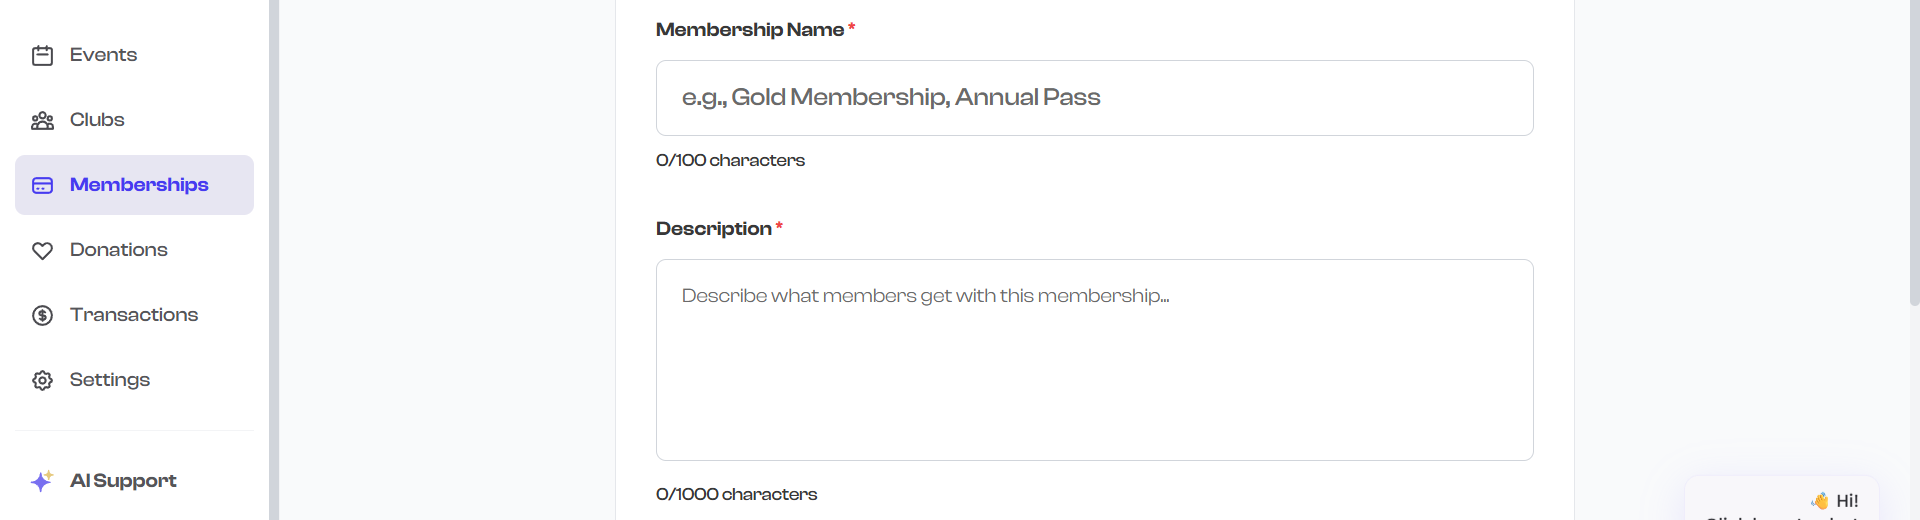
Membership Name
The membership name is the first thing potential members will see. It appears on membership cards, in your organization's public profile, and in enrollment confirmations.
- The name field is required.
- You can use up to 100 characters.
- Choose a name that clearly communicates what the membership is about.

A good membership name is specific and descriptive. Instead of "Membership", try "Annual Basketball Training Program" or "Monthly Unlimited Yoga Pass". Include the duration or level when it helps distinguish this plan from others you offer.
Description
The description field lets you provide detailed information about the membership. This is where you explain what members can expect, what is included, and any other relevant details.
- The description uses a multiline text area.
- You can use up to 1,000 characters.
- A minimum of 20 characters is required.
- The description appears on the membership detail page and in your organization's public profile.
What to include in your description:
- What the membership provides and who it is for
- What activities, classes, or resources members can access
- Any requirements or prerequisites
- How the membership differs from other plans you offer
- Contact information for questions
Prefix (Acronym) and Starting Serial Number
Every member who enrolls receives a unique Member ID that combines a short prefix with an auto-incrementing number. For example, if your prefix is "GLD" and the starting serial number is 1, the first member gets the ID GLD00001, the second gets GLD00002, and so on.
Prefix
- The prefix is required and must be exactly 3 characters.
- It is automatically converted to uppercase.
- Choose something short and recognizable that relates to the membership name.
Examples:
| Membership Name | Suggested Prefix | First Member ID |
|---|---|---|
| Gold Membership | GLD | GLD00001 |
| Junior Basketball Annual | JBA | JBA00001 |
| Monthly Unlimited | MUL | MUL00001 |
| Family Swim Pass | FSP | FSP00001 |
Starting Serial Number
- The starting serial number determines where numbering begins.
- The default is 1, meaning the first member ID ends in 00001.
- You can set it to any number between 1 and 99999.
- This is useful if you are migrating from another system and want member IDs to continue from an existing number.

The prefix and serial number combination generates a preview below the fields, so you can see exactly what the first member ID will look like before proceeding.
Membership Benefits
This field is where you describe the benefits and perks that come with the membership. Benefits are required and are displayed to potential members before they enroll.
- Use the text area to describe what members receive.
- You can use up to 2,000 characters.
- Be specific about what is included -- this helps potential members understand the value of enrolling.
Examples of benefits you might list:
- Unlimited access to all group fitness classes
- Priority registration for special events and workshops
- 10% discount on merchandise and equipment
- Free guest passes (2 per month)
- Access to member-only facilities and equipment
- Quarterly newsletter with exclusive content
- Invitations to members-only social events

Think about benefits from the member's perspective. Instead of "Pool access", try "Unlimited access to our 25-meter heated indoor pool, 7 days a week". Specific, tangible benefits help people see the value and are more likely to drive enrollments.
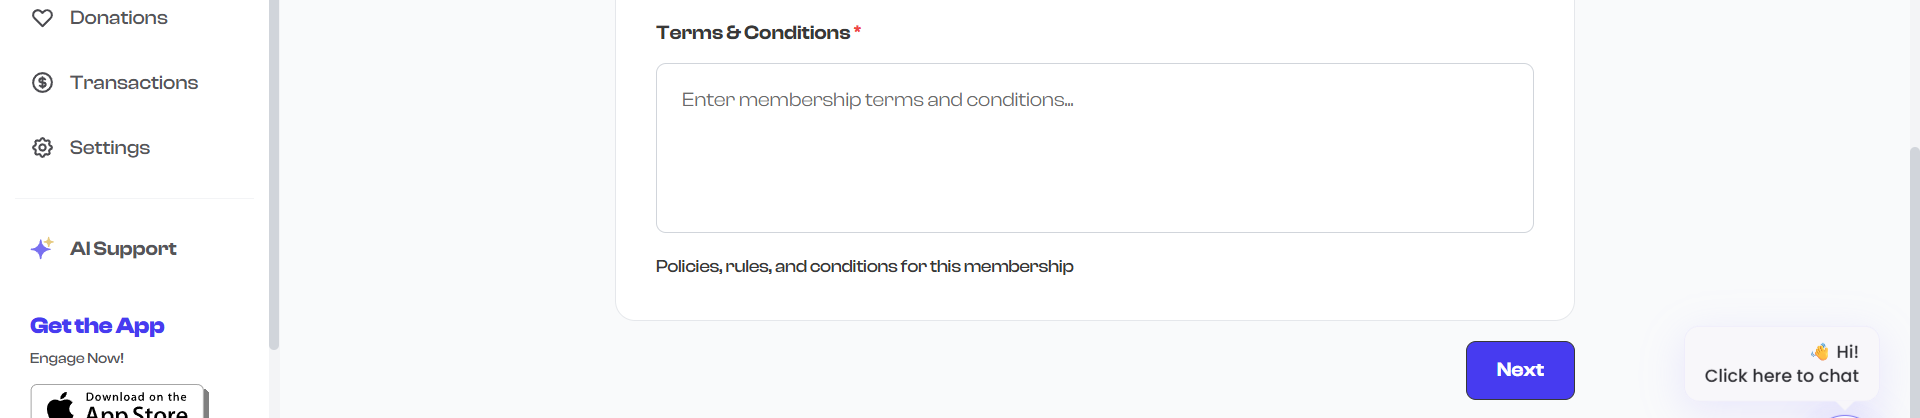
Terms & Conditions
The terms & conditions field is where you define the rules, policies, and conditions of the membership. Terms are required and are presented to members during the enrollment process.
- Use the text area to describe your membership policies.
- You can use up to 2,000 characters.
- Cover important topics like cancellation policy, refund rules, and code of conduct.
What to include in your terms & conditions:
- Cancellation and refund policy
- Membership transfer rules (can it be transferred to another person?)
- Code of conduct and behavioral expectations
- Liability and waiver information
- Suspension and termination policies
- Any restrictions on usage (e.g., "Valid at Main Street location only")
Validation
Before you can proceed to Step 2, the following fields must be completed:
| Field | Requirement |
|---|---|
| Membership Name | Must not be empty |
| Description | Must be at least 20 characters |
| Prefix (Acronym) | Must be exactly 3 characters |
| Starting Serial No | Must be between 1 and 99,999 |
| Benefits | Must not be empty |
| Terms & Conditions | Must not be empty |
If any required field is missing or invalid, an error message appears below the form explaining what needs to be corrected.
What's Next?
After completing the basic details, click Next to move to:
- Term Configuration -- Define how long the membership lasts and how billing works