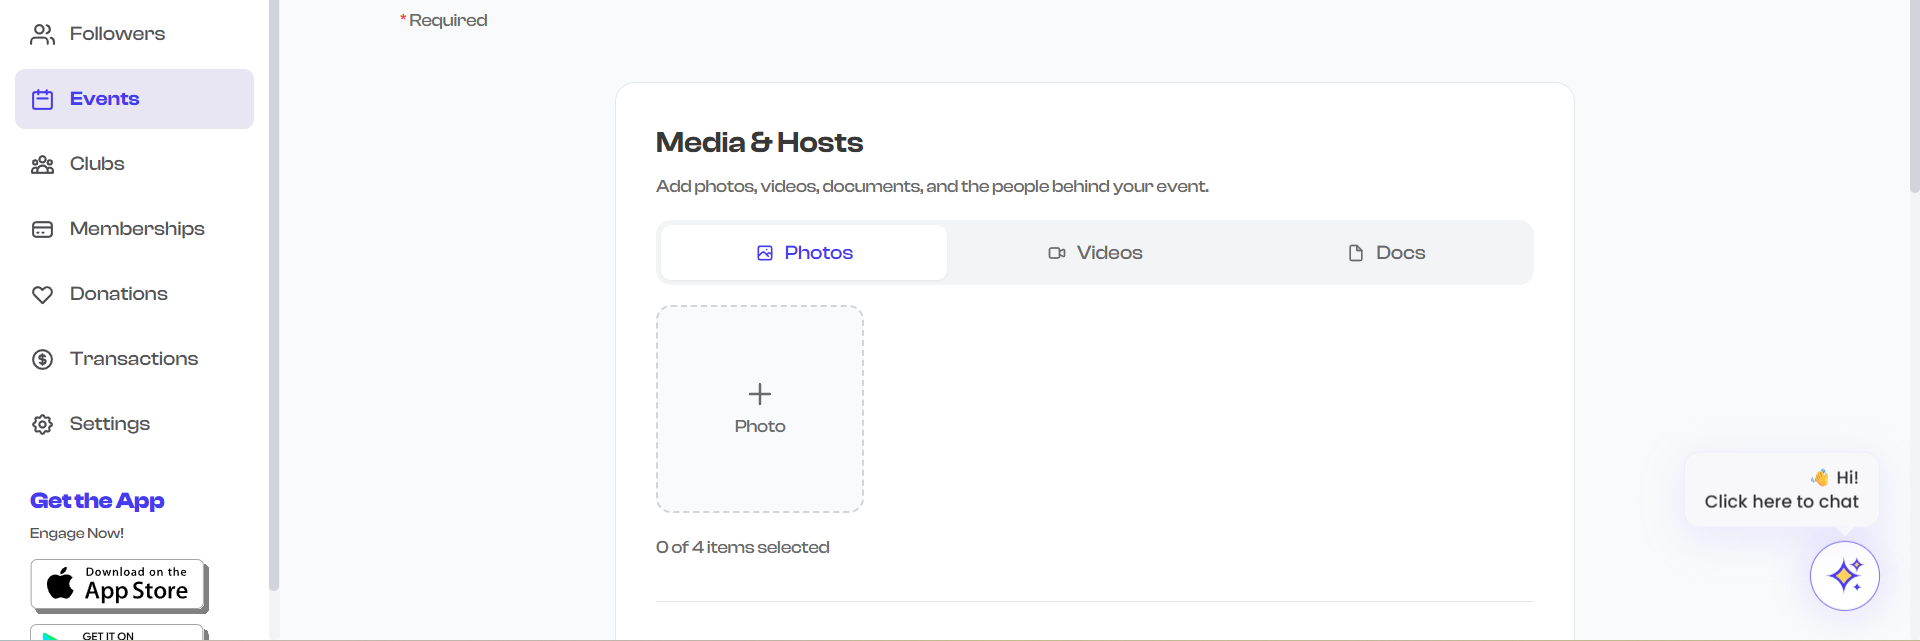
Agenda & Hosts
The Media & Hosts step of the event creation wizard lets you add visual media, an agenda, event hosts, and document attachments. This step is optional but highly recommended -- events with hosts and media tend to attract more interest.
This step appears as:
- Step 6 for Free/RSVP and Sign-up events
- Step 7 for Ticketed events
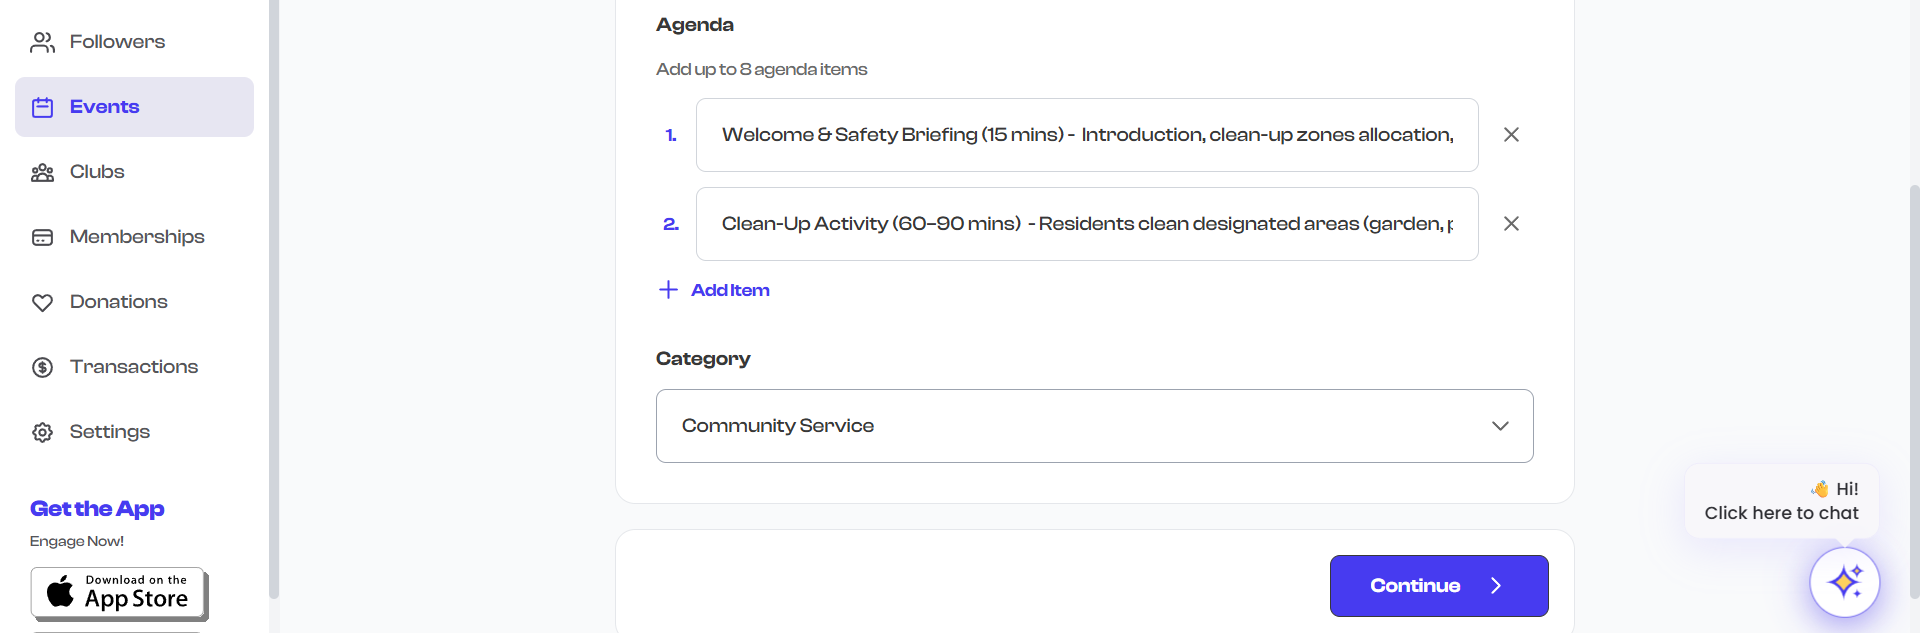
Agenda
The agenda is a list of items or activities planned for your event. It helps attendees understand the flow and structure of the event.
Adding Agenda Items
- In the Agenda section, type an agenda item into the text field.
- Press Enter or click the Add button to add it to the list.
- Each item appears as a bullet point in the agenda list.
- Add as many items as needed.
Managing Agenda Items
- Reorder -- Drag items to rearrange them in the desired order.
- Remove -- Click the delete icon next to any item to remove it.
- Edit -- Click on an existing item to modify its text.
Example agenda for a community workshop:
- Welcome and introductions
- Keynote presentation: "Building Stronger Communities"
- Breakout sessions (choose one of three tracks)
- Networking lunch
- Panel discussion: Q&A with local leaders
- Closing remarks and next steps
Keep agenda items concise. Use them as a high-level outline rather than detailed descriptions. You can provide more detail in the event description field.
Hosts
Hosts are the people behind your event -- speakers, performers, organizers, or facilitators. Adding host profiles gives your event page a professional, personal touch and helps attendees know who they will hear from.
Adding a Host
- Click the Add Host button (or "Add Speaker" / "Add Performer" depending on your section label).
- A side panel opens with a form to fill in the host's details.
- Complete the form and click Save.
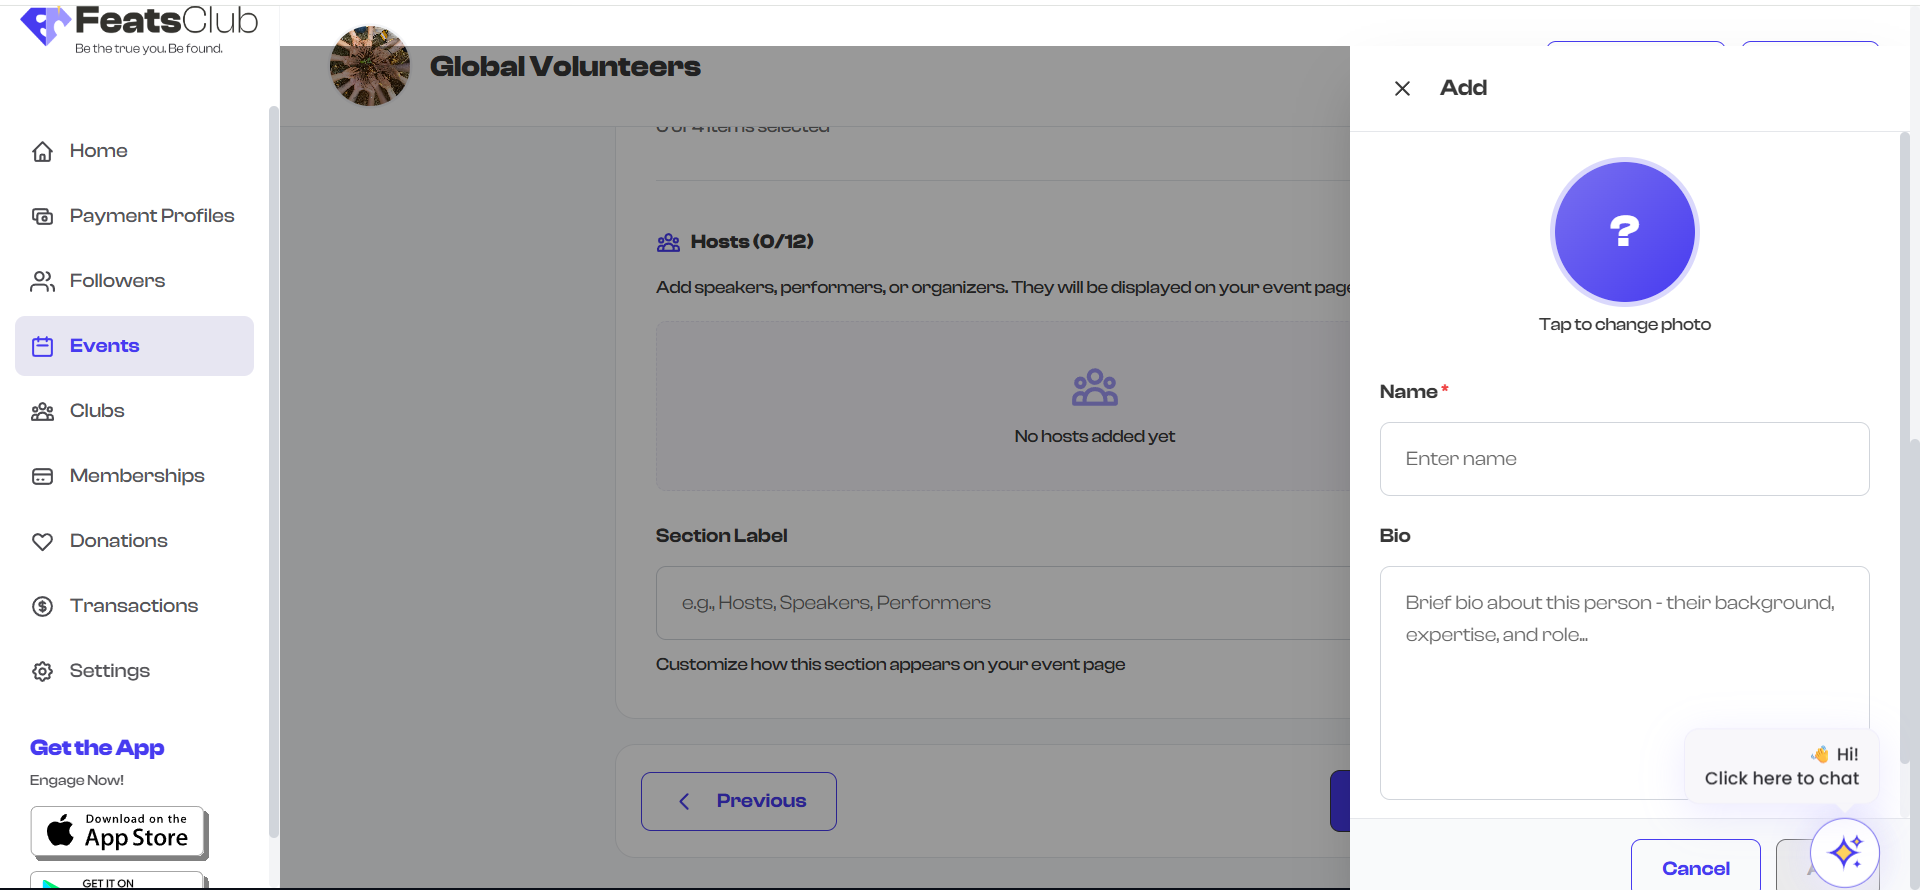
Host Profile Fields
| Field | Required | Description |
|---|---|---|
| Profile Photo | No | A photo of the host. If not provided, the host's initial is displayed as a placeholder. |
| Display Name | Yes | The host's name as it should appear on the event page. |
| Bio / Details | No | A short description of the host -- their role, expertise, or background. Long bios are truncated with a "Read more" toggle on the event page. |
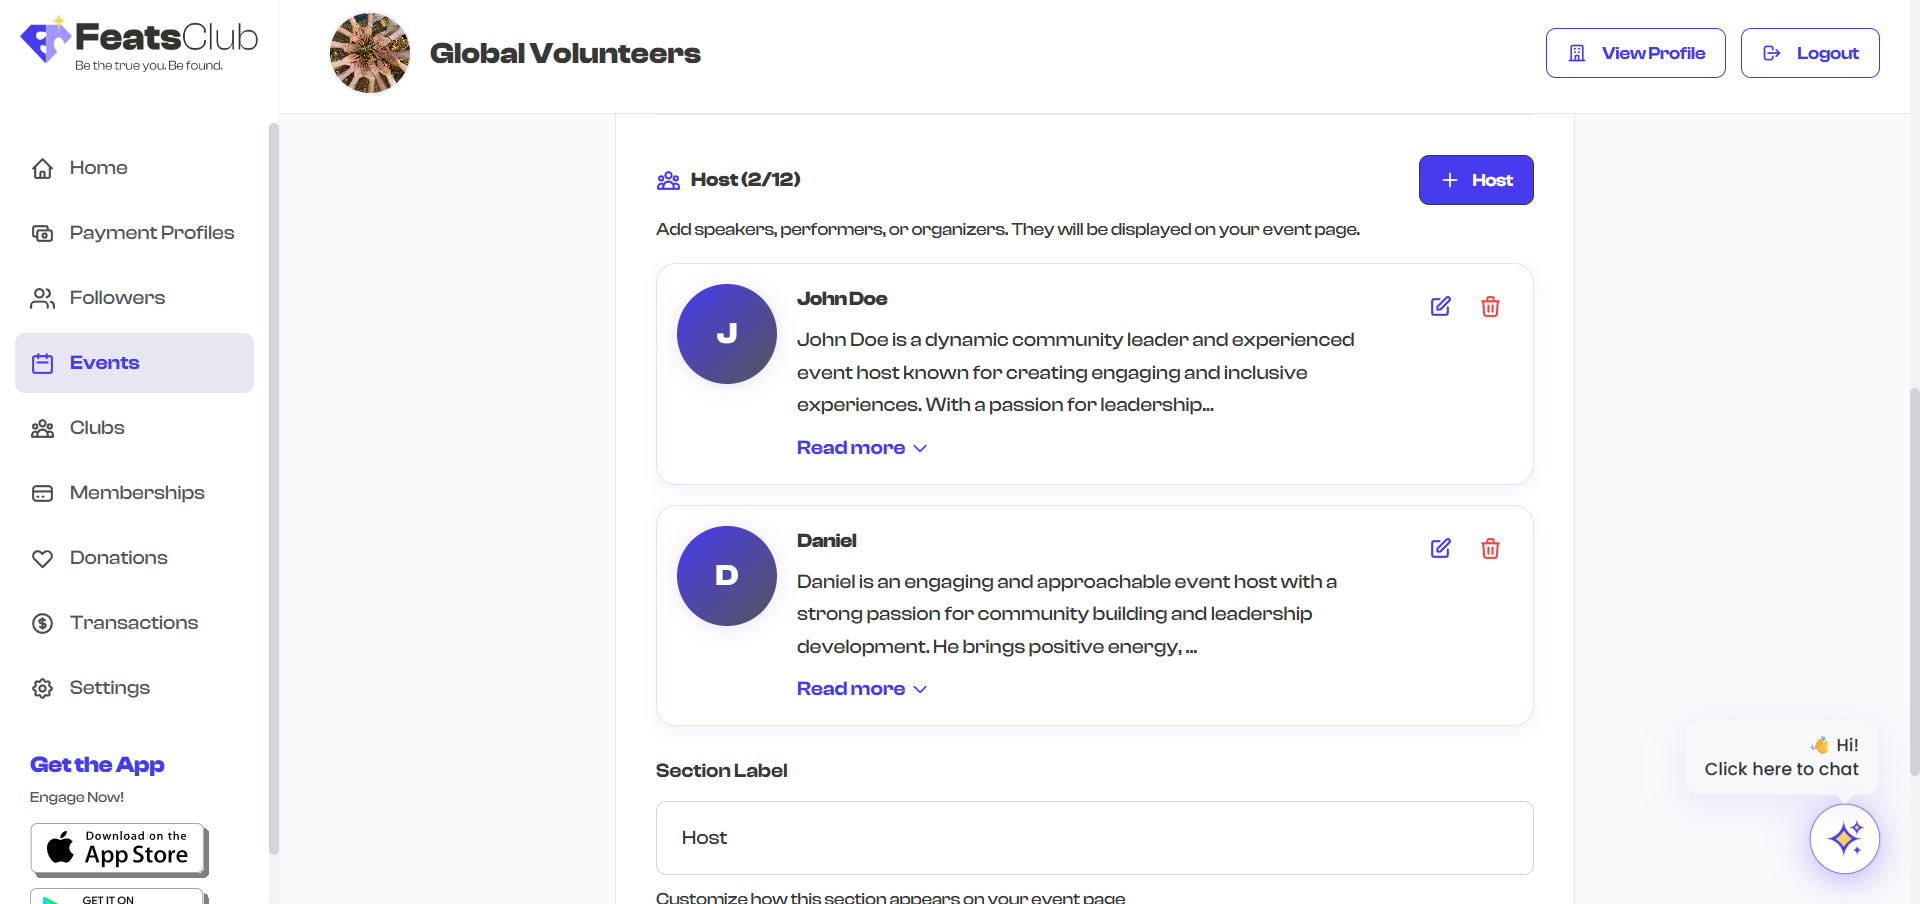
Managing Hosts
Once hosts are added, they appear as host cards in the creation form:
- Each card shows the host's photo (or initial), name, and bio preview.
- Click the edit icon on a card to modify the host's details.
- Click the remove icon to delete the host.
- You can add up to 12 hosts per event.
Customizing the Section Label
By default, the host section is labeled "Hosts" on the event page. You can customize this label to better describe the people you are featuring:
- Hosts -- General organizers or emcees
- Speakers -- For conferences and presentations
- Performers -- For concerts and shows
- Instructors -- For classes and workshops
- Panelists -- For panel discussions
- Any custom label you prefer
To change the label, scroll to the Section Label field below the host cards and type your preferred label (e.g., "Featured Speakers").
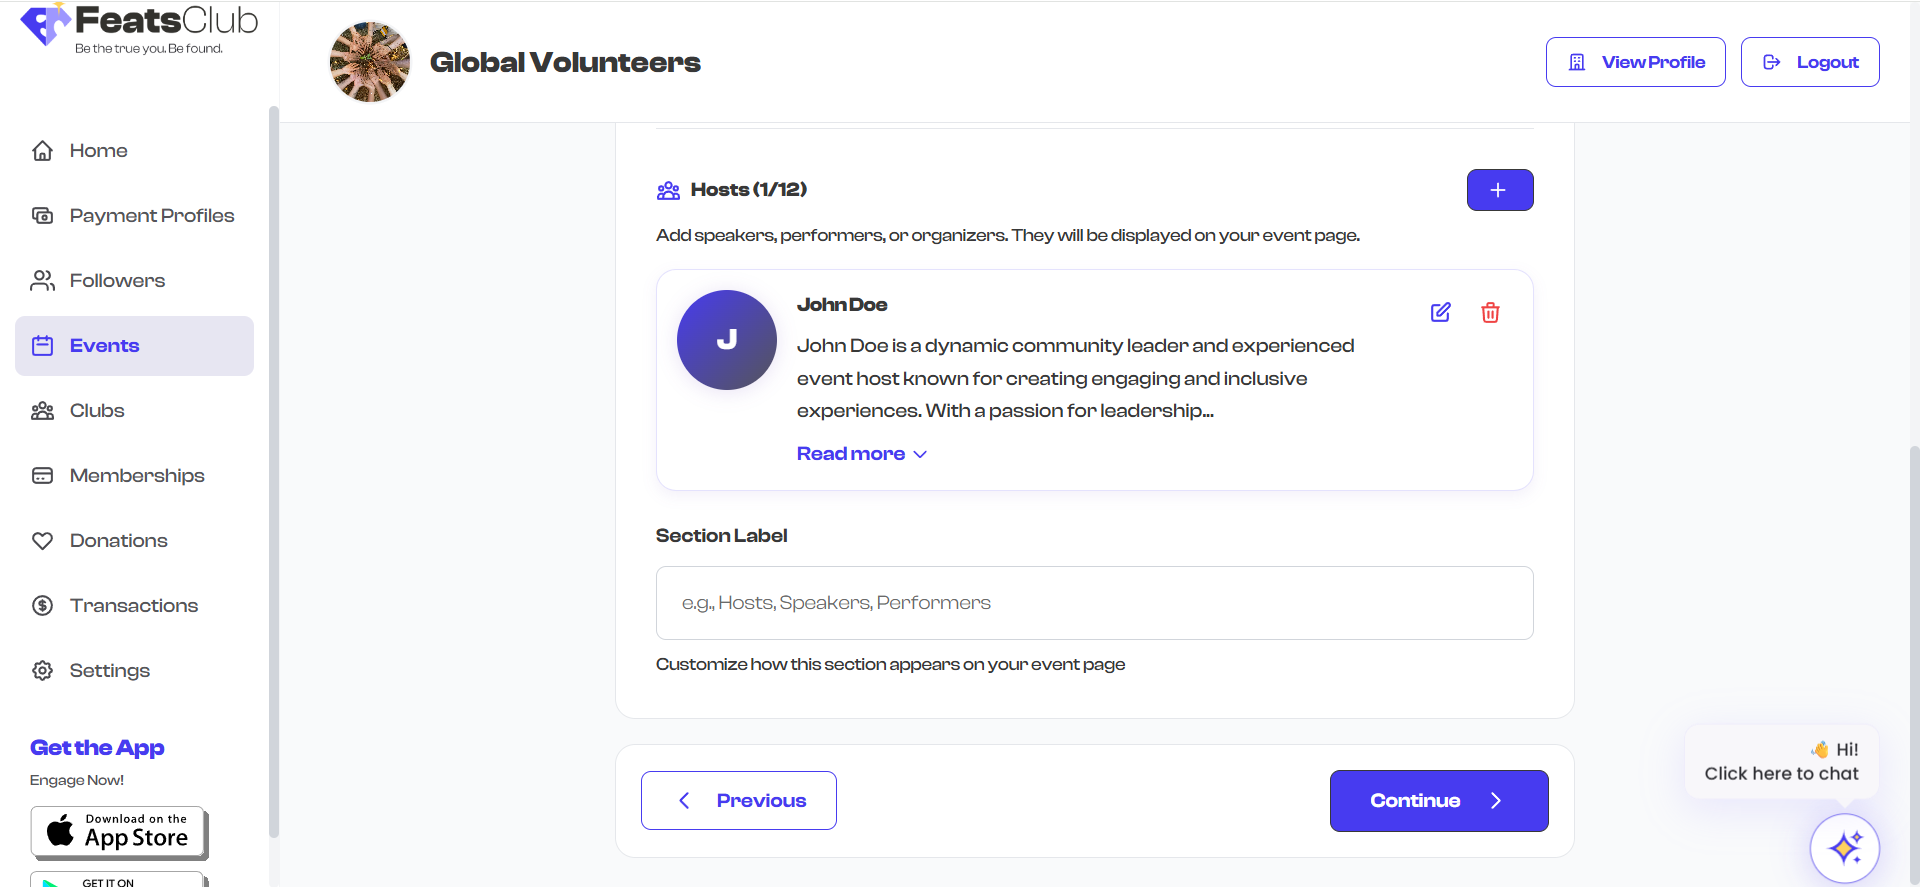
The section label also changes the "Add" button text. If you set the label to "Speakers", the button reads "Add Speaker" instead of "Add Host".
Document Attachments
You can attach documents to your event, such as PDFs, brochures, schedules, or informational packets. These are uploaded alongside photos and videos in the unified media uploader.
Supported Document Types
| Type | Format | Max Size | Max Documents |
|---|---|---|---|
| Documents | 10 MB per file | Up to 5 documents |
How to Attach Documents
- In the media upload area, click the upload button or drag and drop a PDF file.
- Documents are automatically separated from photos and videos in the uploader.
- Each document displays with a file icon and its title.
- You can remove documents before publishing.
Common document attachments:
- Event schedule or program booklet
- Venue map or directions
- Participant waivers or consent forms
- Informational brochures
- Speaker bios or presentation outlines
Documents are displayed on the event detail page as downloadable files. Attendees can view or download them directly from the event page.
Media Upload
The same step includes the media uploader for photos and videos. For detailed information on media upload, including supported formats, size limits, and how the gallery slider works, see the Event Details page.
Quick summary:
- Upload up to 4 photos and videos combined.
- The first image becomes the cover image for event cards.
- Images: JPG, PNG, WebP (max 10 MB each).
- Videos: MP4, MOV (max 50 MB, 90 seconds).
- All media appears in a gallery slider on the event page.
How Hosts Appear on the Event Page
After publishing, hosts are displayed on the event detail page in a dedicated section:
- Each host shows their profile photo (or initials), display name, and bio.
- Long bios are collapsed by default with a "Read more" link to expand.
- The section heading uses your custom label (e.g., "Featured Speakers").
- Hosts appear in the order you added them.
Next Steps
After adding media, hosts, and documents, proceed to:
- Social Media Links -- Add links to the event's social media profiles
- Review & Publish -- Review everything and publish or save as draft