Event Details
The first step of the event creation wizard is Basic Information. This is where you define the core identity of your event: its title, description, category, and schedule.
Title
The event title is the first thing attendees will see. It appears on event cards, in search results, and at the top of your event page.
- The title field is required.
- Use a clear, descriptive name that communicates what the event is about.
- There is no strict character limit, but shorter titles display better on event cards.
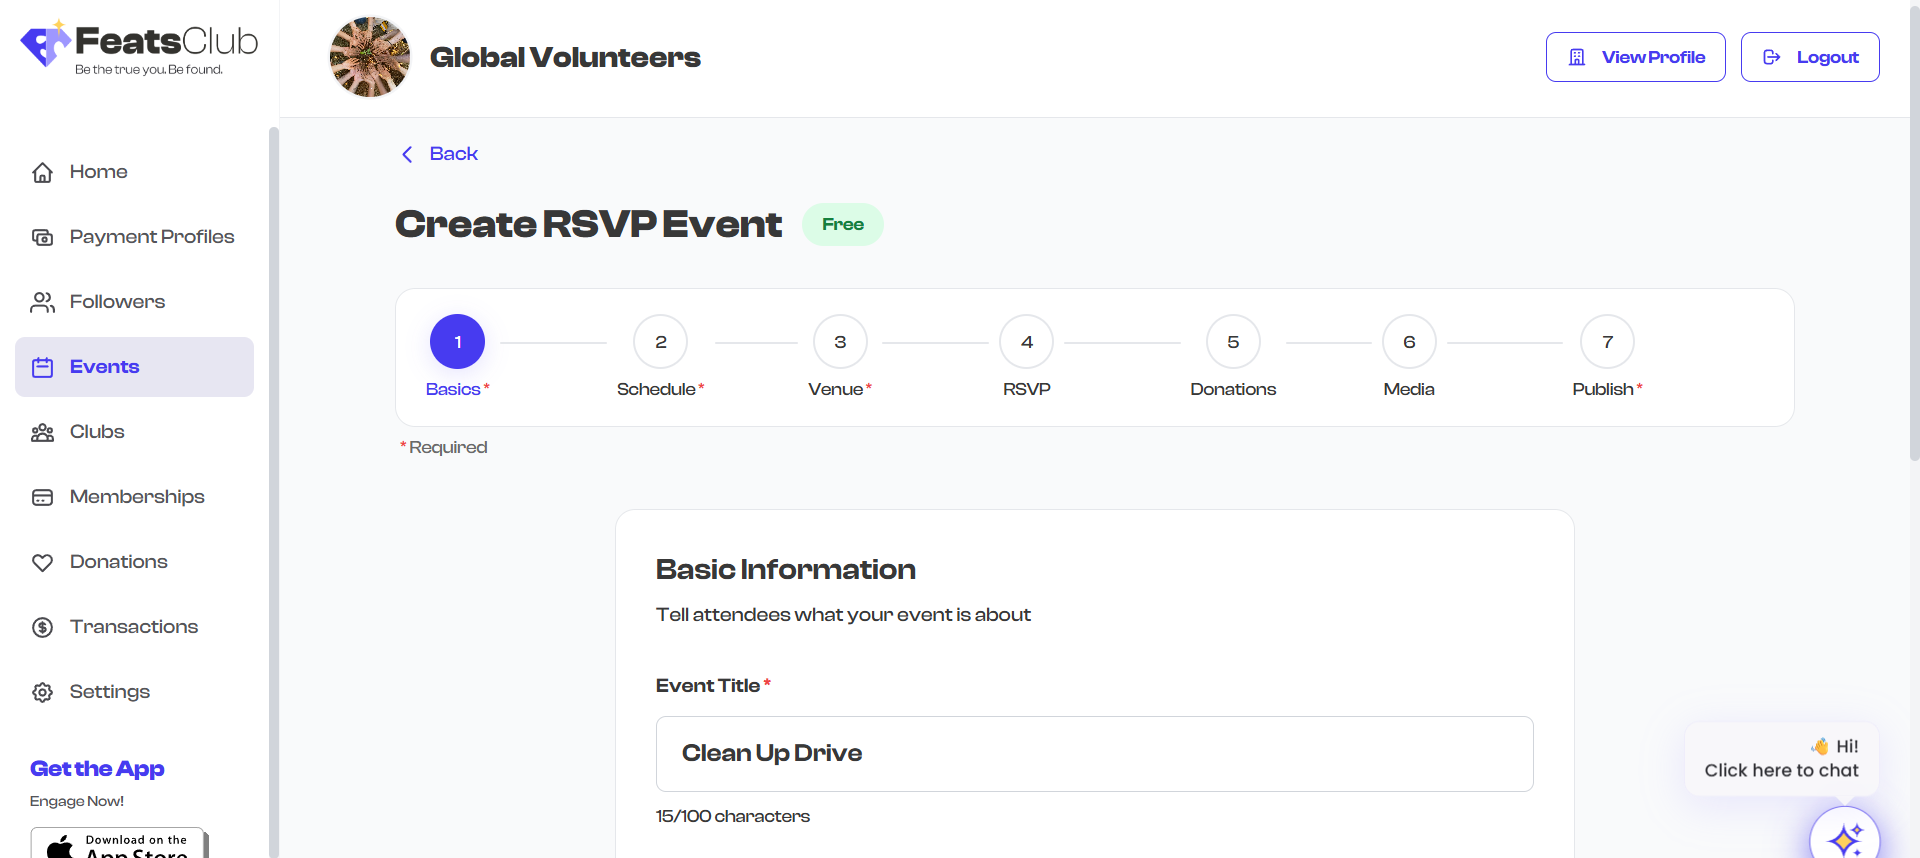
A good event title is specific and action-oriented. Instead of "Meeting", try "Monthly Community Planning Meeting - April 2026". Instead of "Concert", try "Spring Jazz Night featuring The Blue Notes".
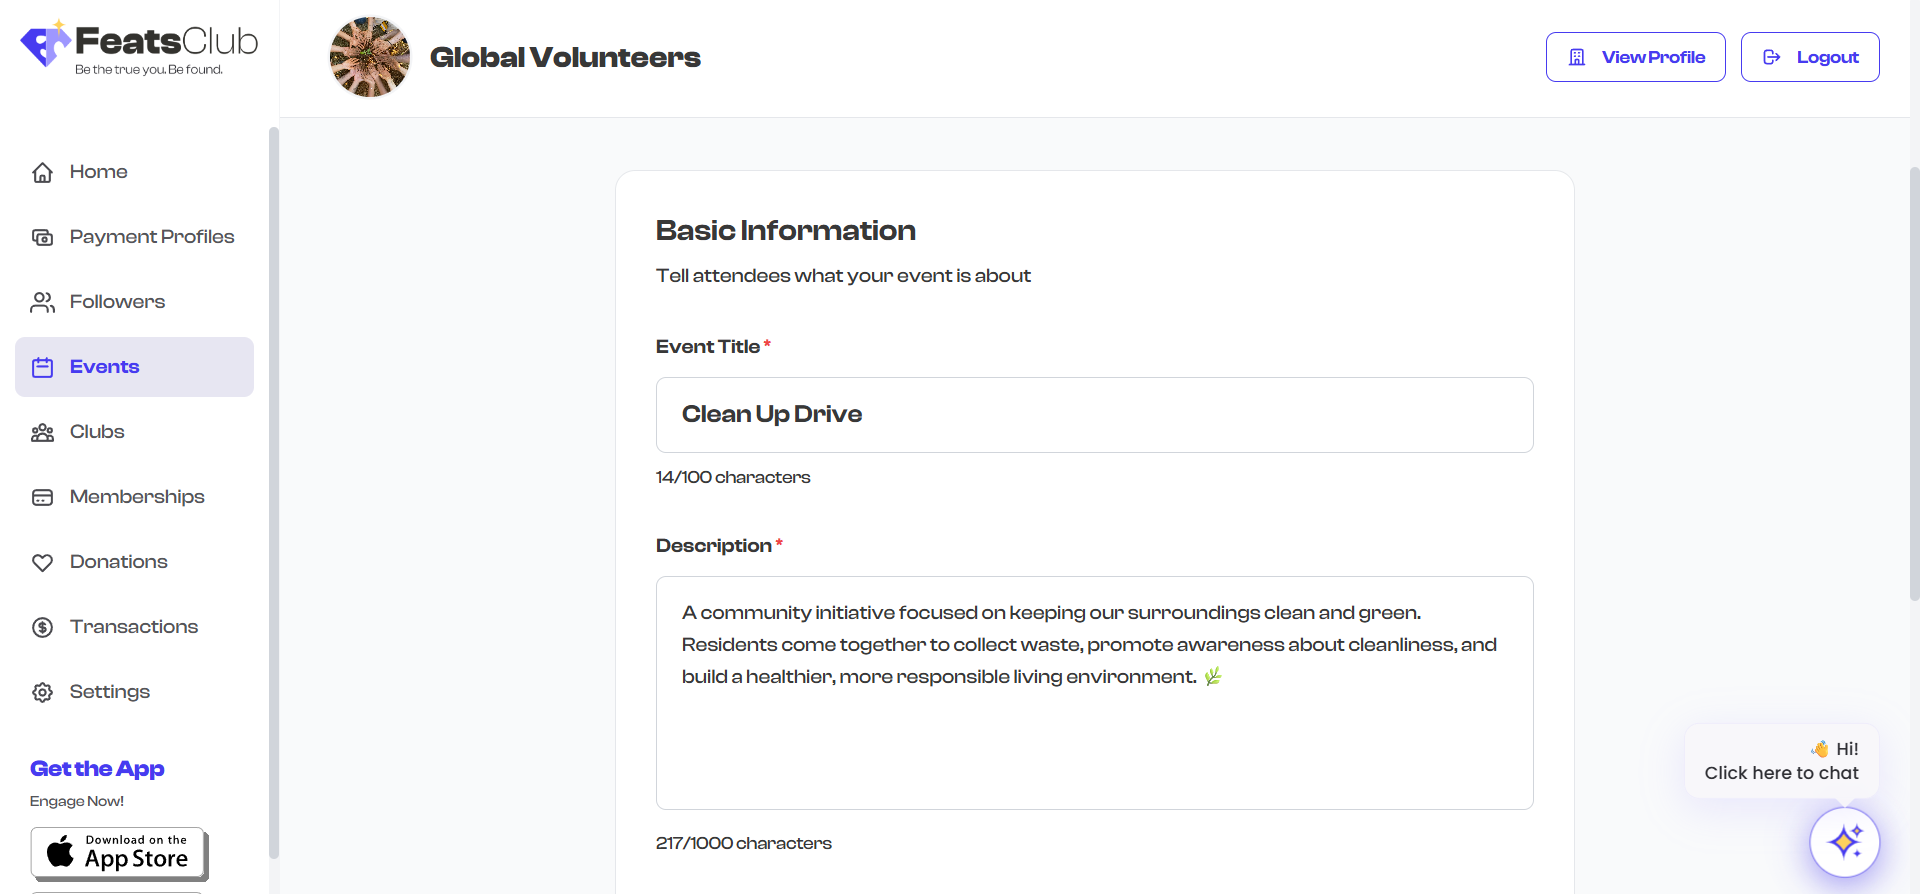
Description
The description field lets you provide detailed information about your event. This is where you explain what attendees can expect, what they should bring, and any other relevant details.
- The description uses a multiline text area.
- You can write as much or as little as you want. This field is optional but strongly recommended.
- The description appears on the event detail page under the event header.
What to include in your description:
- What the event is about and who it is for
- What attendees will experience or learn
- Prerequisites or requirements (e.g., "Bring your own laptop")
- What is provided (e.g., "Refreshments included")
- Contact information for questions
Category
Selecting a category helps attendees discover your event and helps FeatsClub organize events for browsing.
Choose the category that best describes your event from the dropdown. Available categories include:
| Category | Category | Category |
|---|---|---|
| Athletics and Fitness | Business and Leadership | Community Service |
| Culinary Arts | Culture and Language | Dance and Performances |
| Events and Speaking | Health and Wellness | Hobbies and Interests |
| Literature and Media | Martial Arts | Music and Performances |
| Outdoor and Adventure | Performing Arts | STEM and Digital |
| School and College | Sports | Travel |
| Visual Arts | Other |
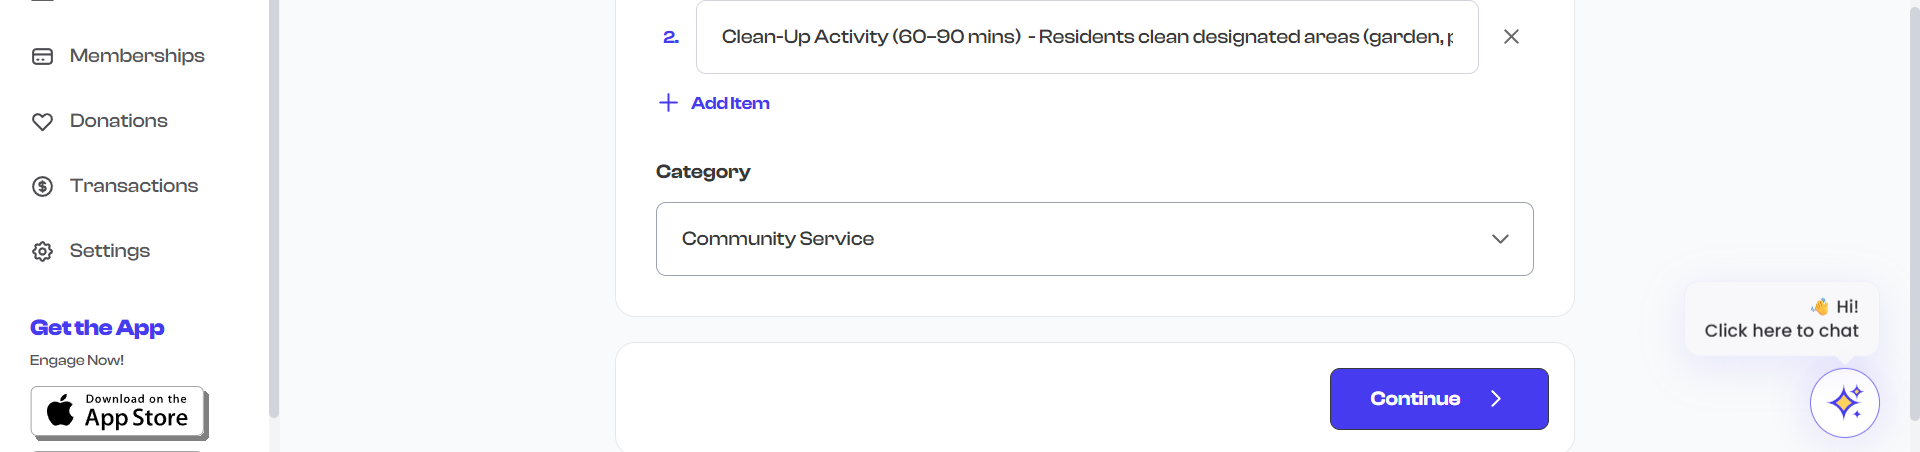
If none of the categories fit your event, select Other. The category is used primarily for discovery and filtering -- it does not restrict what your event can include.
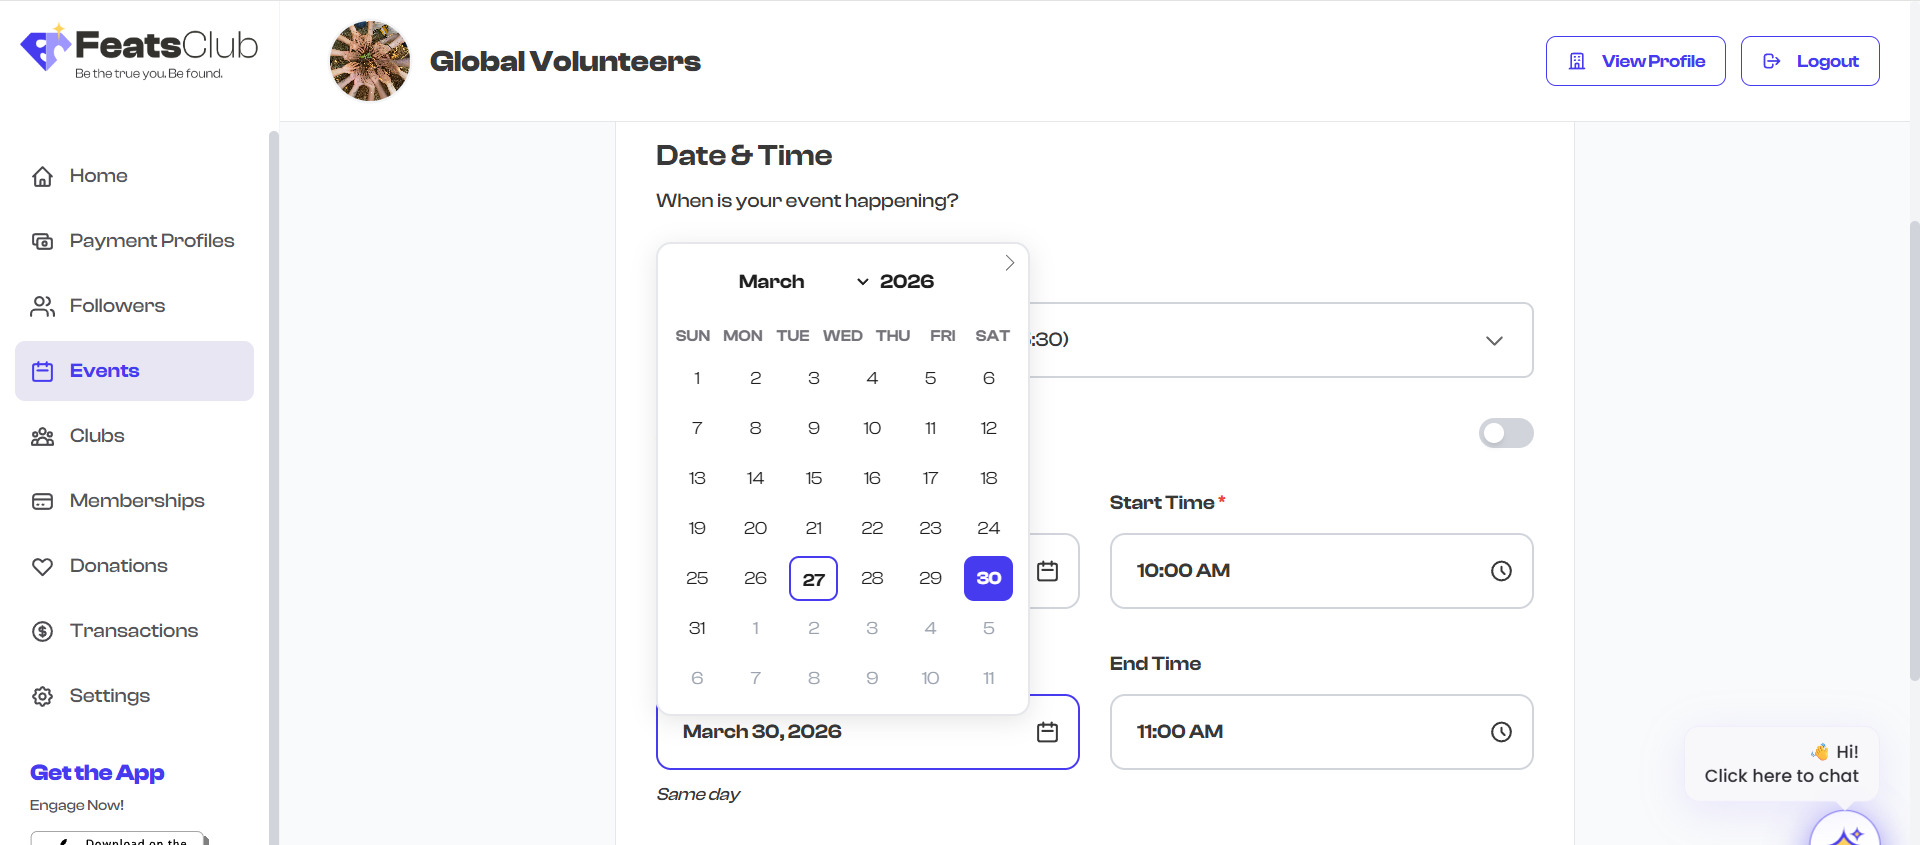
Date and Time
The Date & Time section is Step 2 of the wizard. Here you set when your event starts and ends.
Start Date and Time
- Start Date -- The date your event begins. Click the date field to open a calendar picker.
- Start Time -- The time your event begins. Click the time field to choose from a time picker.
- Both start date and start time are required (unless you toggle All-Day).
End Date and Time
- End Date -- The date your event ends. For single-day events, this is the same as the start date.
- End Time -- The time your event ends.
- The end date/time must be after the start date/time.
All-Day Events
Toggle the All-Day switch if your event does not have specific start and end times. When enabled:
- The time fields are hidden.
- The event displays as an all-day event on calendars and event pages.
- Only the date fields remain for you to set.
This is useful for events like festivals, open houses, or deadlines that span an entire day.
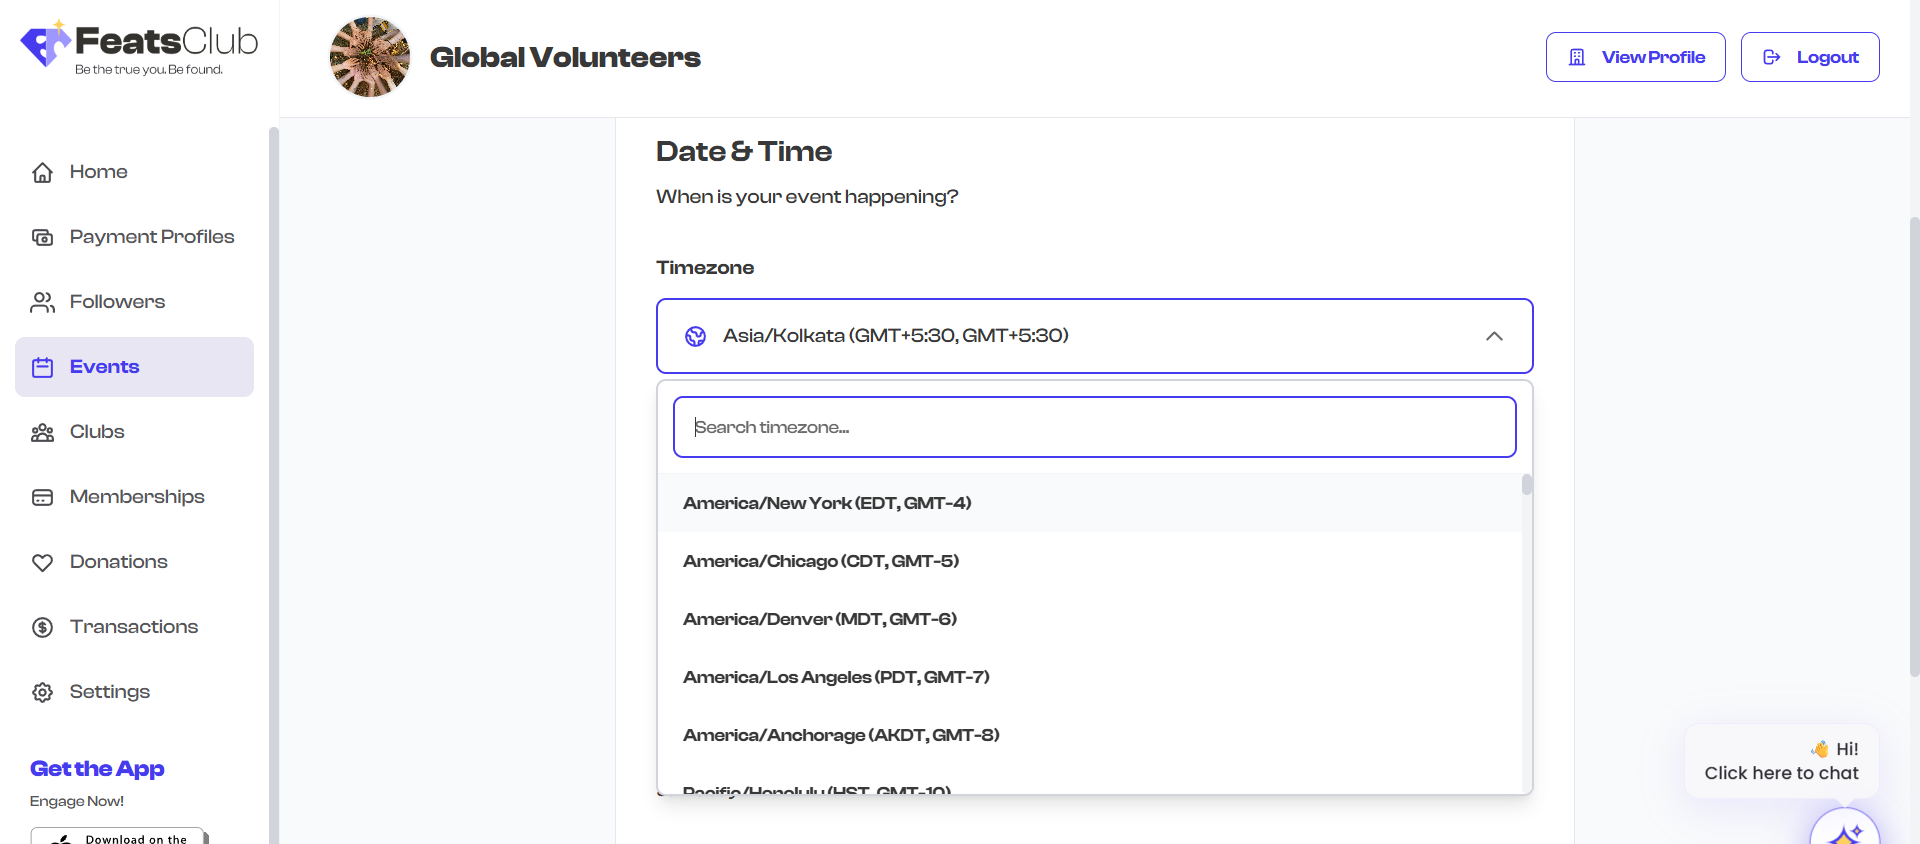
Timezone
FeatsClub automatically detects your browser's timezone and displays it below the date/time fields. For example, you might see "America/New_York" or "Asia/Kolkata".
- The timezone is set automatically based on your location.
- If you need to create an event in a different timezone, you can change it using the timezone dropdown.
- The timezone is displayed to attendees so they know when the event takes place in their local time.
For virtual events with attendees across multiple time zones, mention the timezone explicitly in your event description as well. For example: "This webinar starts at 2:00 PM Eastern / 11:00 AM Pacific."
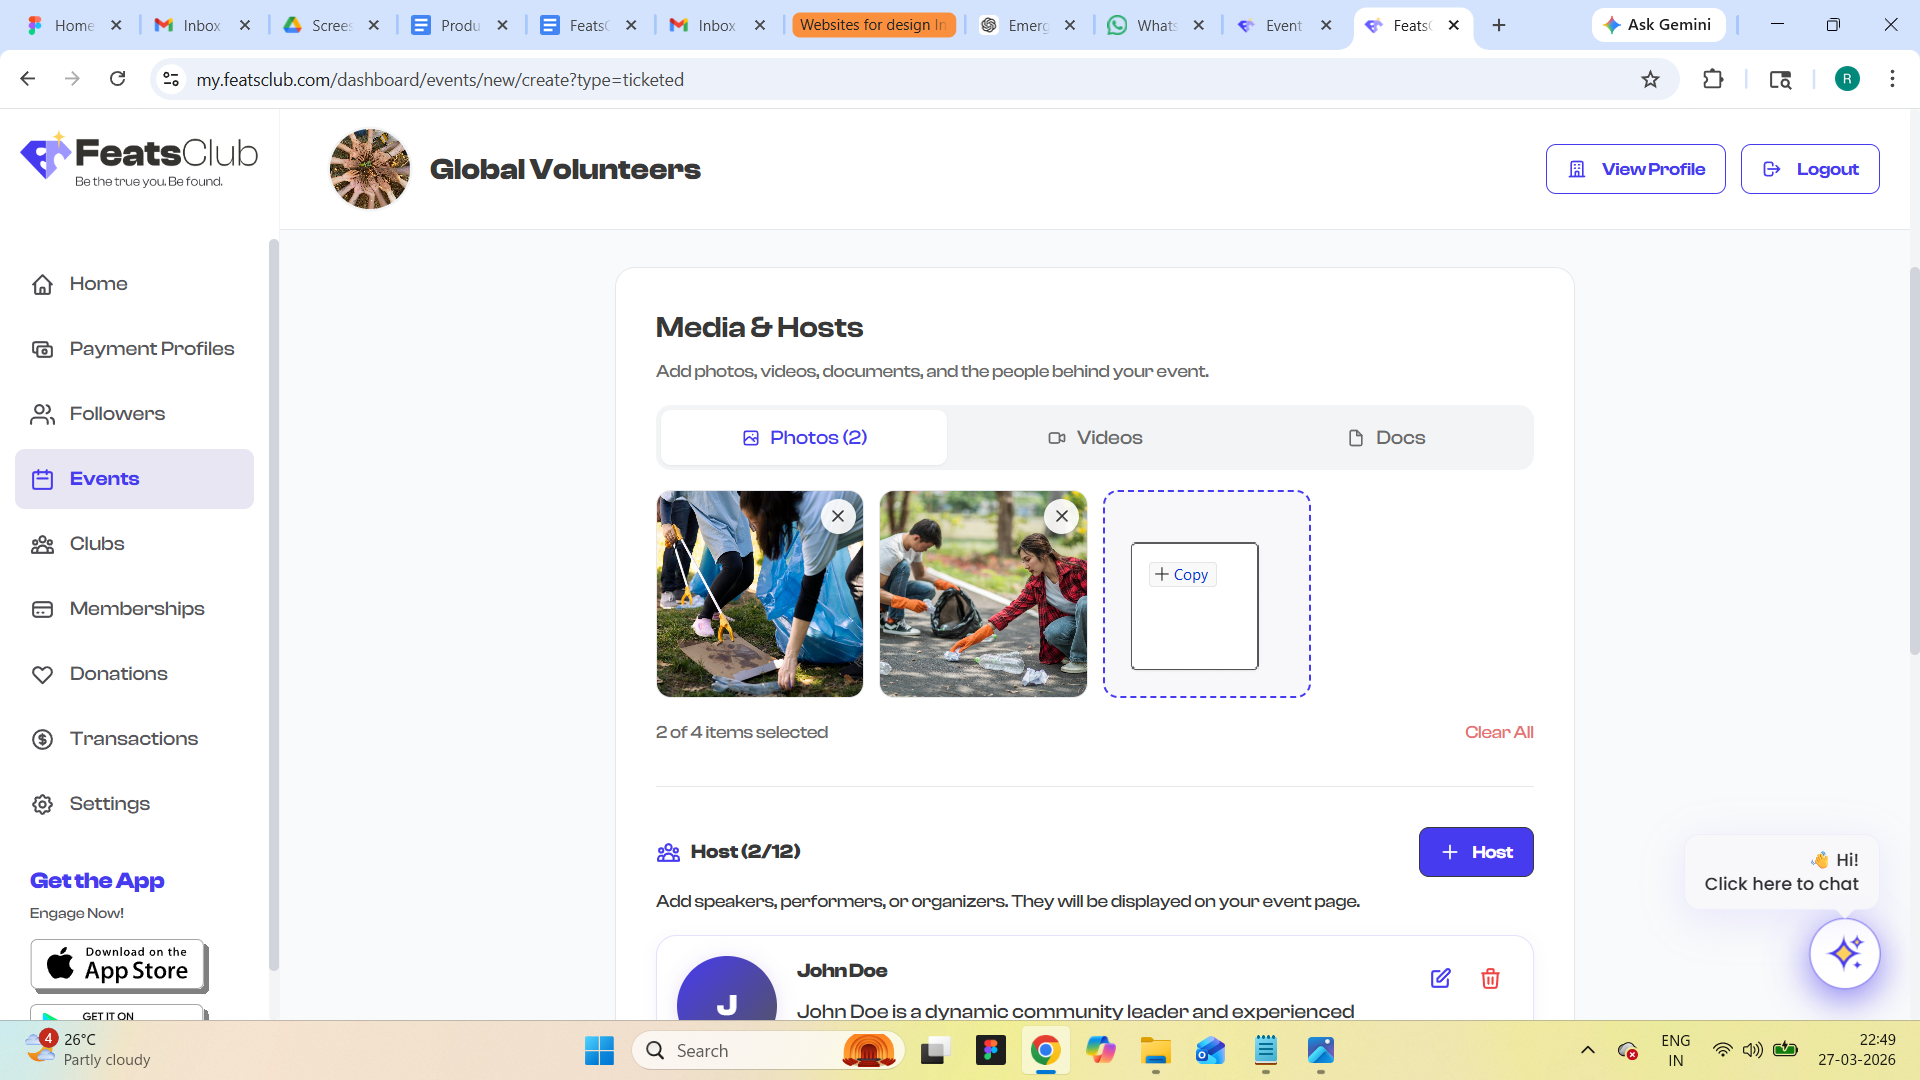
Media Upload
Media makes your event page visually engaging. You can upload images and videos that appear in a gallery slider on your event page.
Supported Media
| Media Type | Formats | Size Limit | Max Items |
|---|---|---|---|
| Images | JPG, PNG, WebP | 10 MB per image | Up to 4 photos/videos total |
| Videos | MP4, MOV | 50 MB per video | 90 seconds max duration |
| Documents | 10 MB per document | Up to 5 documents |
How to Upload
- Drag and drop files onto the upload area, or click to browse your device.
- The first image you upload becomes the cover image for the event card (the thumbnail shown on the dashboard and in search results).
- Multiple images and videos are displayed in a gallery slider on the event detail page.
- You can reorder, remove, or replace media items after uploading.
Media upload happens during the Media & Hosts step (Step 6 for free/RSVP/sign-up events, Step 7 for ticketed events). It is covered here for completeness, but you will encounter it later in the wizard.
Document Attachments
In addition to photos and videos, you can attach documents like PDFs and brochures. These appear as downloadable files on your event page.
- Documents are displayed with file icons and their titles.
- Attendees can download documents directly from the event page.
- Common uses: event schedules, maps, informational brochures, waivers.
Validation
Step 1 (Basic Information) requires the following before you can proceed:
- Title must not be empty.
Step 2 (Date & Time) requires:
- Start date and start time must be set (unless All-Day is toggled).
- End date and end time must be set (unless All-Day is toggled).
- End date/time must be after start date/time.
If any required field is missing, an error message appears below the field explaining what needs to be corrected.
Next Steps
After completing the basic information and schedule, you will move to:
- Venue & Location -- Set the event location
- Recurring Events -- If this event repeats on a schedule