Adding Ticket Types
Ticket types are the building blocks of your event's registration. Each ticket type represents a distinct option that attendees can purchase, such as General Admission, VIP, Early Bird, or a Sponsor package. You can create as many ticket types as you need, each with its own name, price, description, and settings.
Choosing the Ticket Type Label
Before adding individual tickets, you select how the action button appears to attendees on the event page. This label sets the context for the entire ticketing experience.
| Label | Best For |
|---|---|
| Buy Tickets | Paid events, concerts, workshops, performances |
| Register | Conference registrations, competitions, classes |
| Sponsor Now | Sponsorship packages, fundraising tiers |
To change the label, use the Ticket Type dropdown at the top of the ticket configuration page.
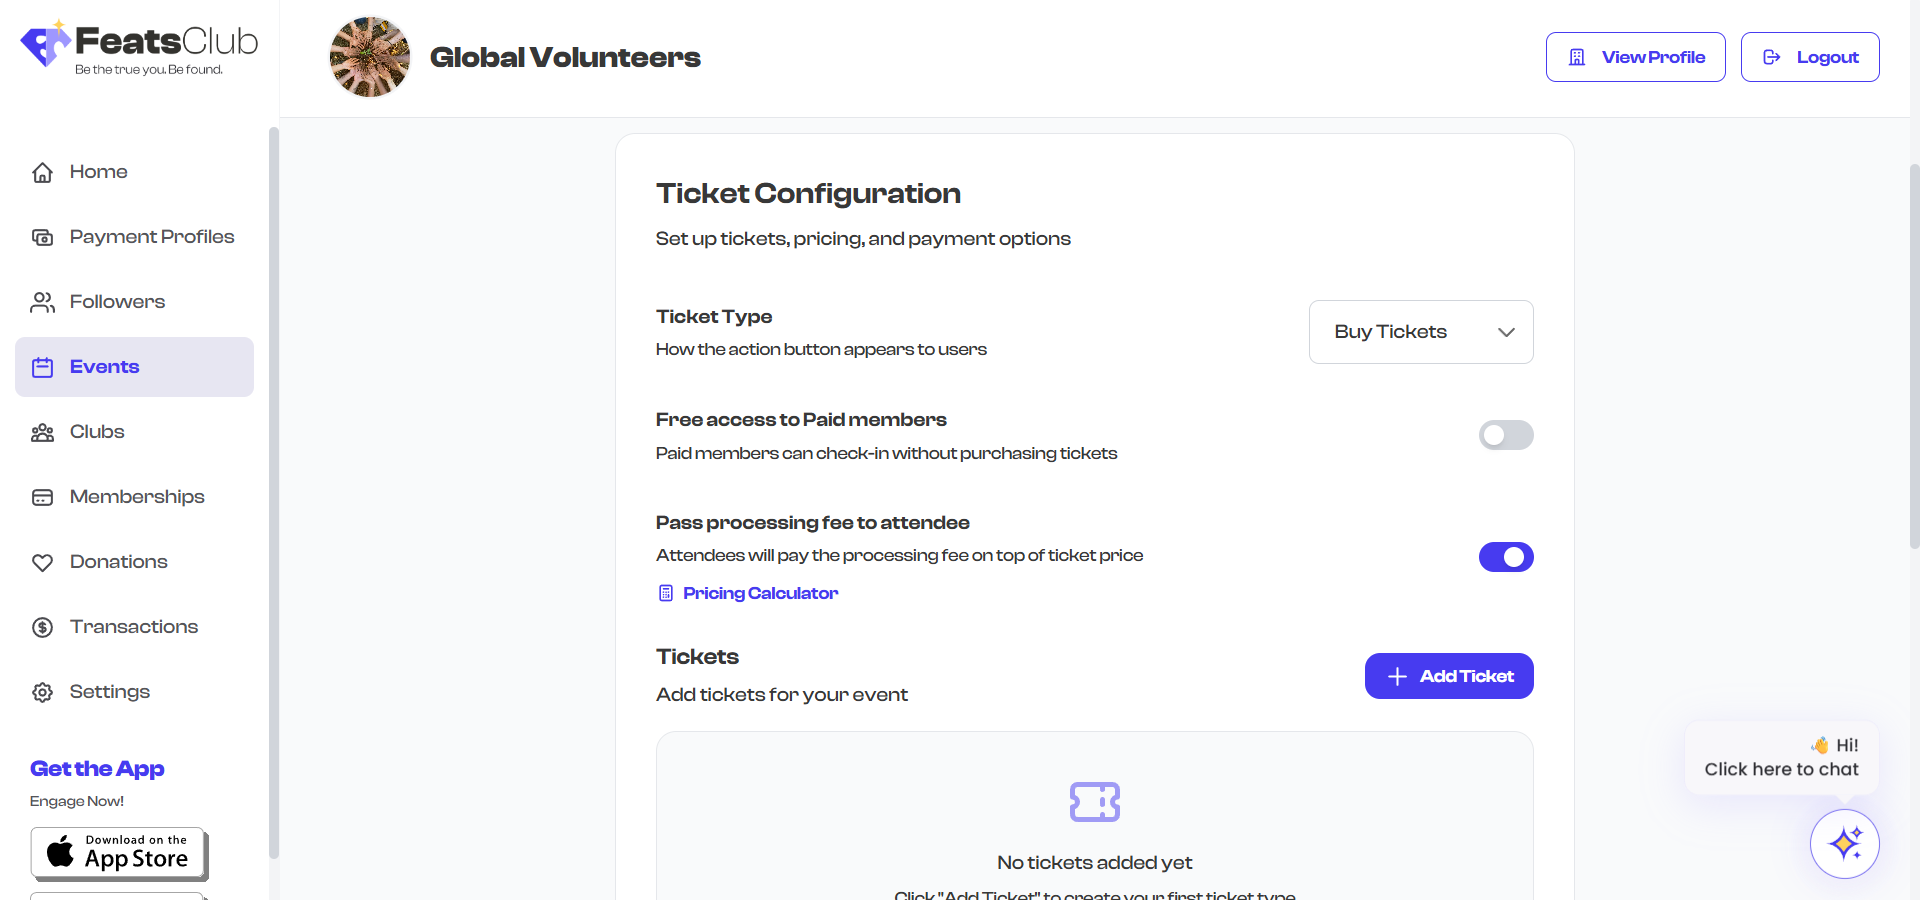
The ticket type label only affects how the button appears to attendees. It does not change how tickets work or how payments are processed.
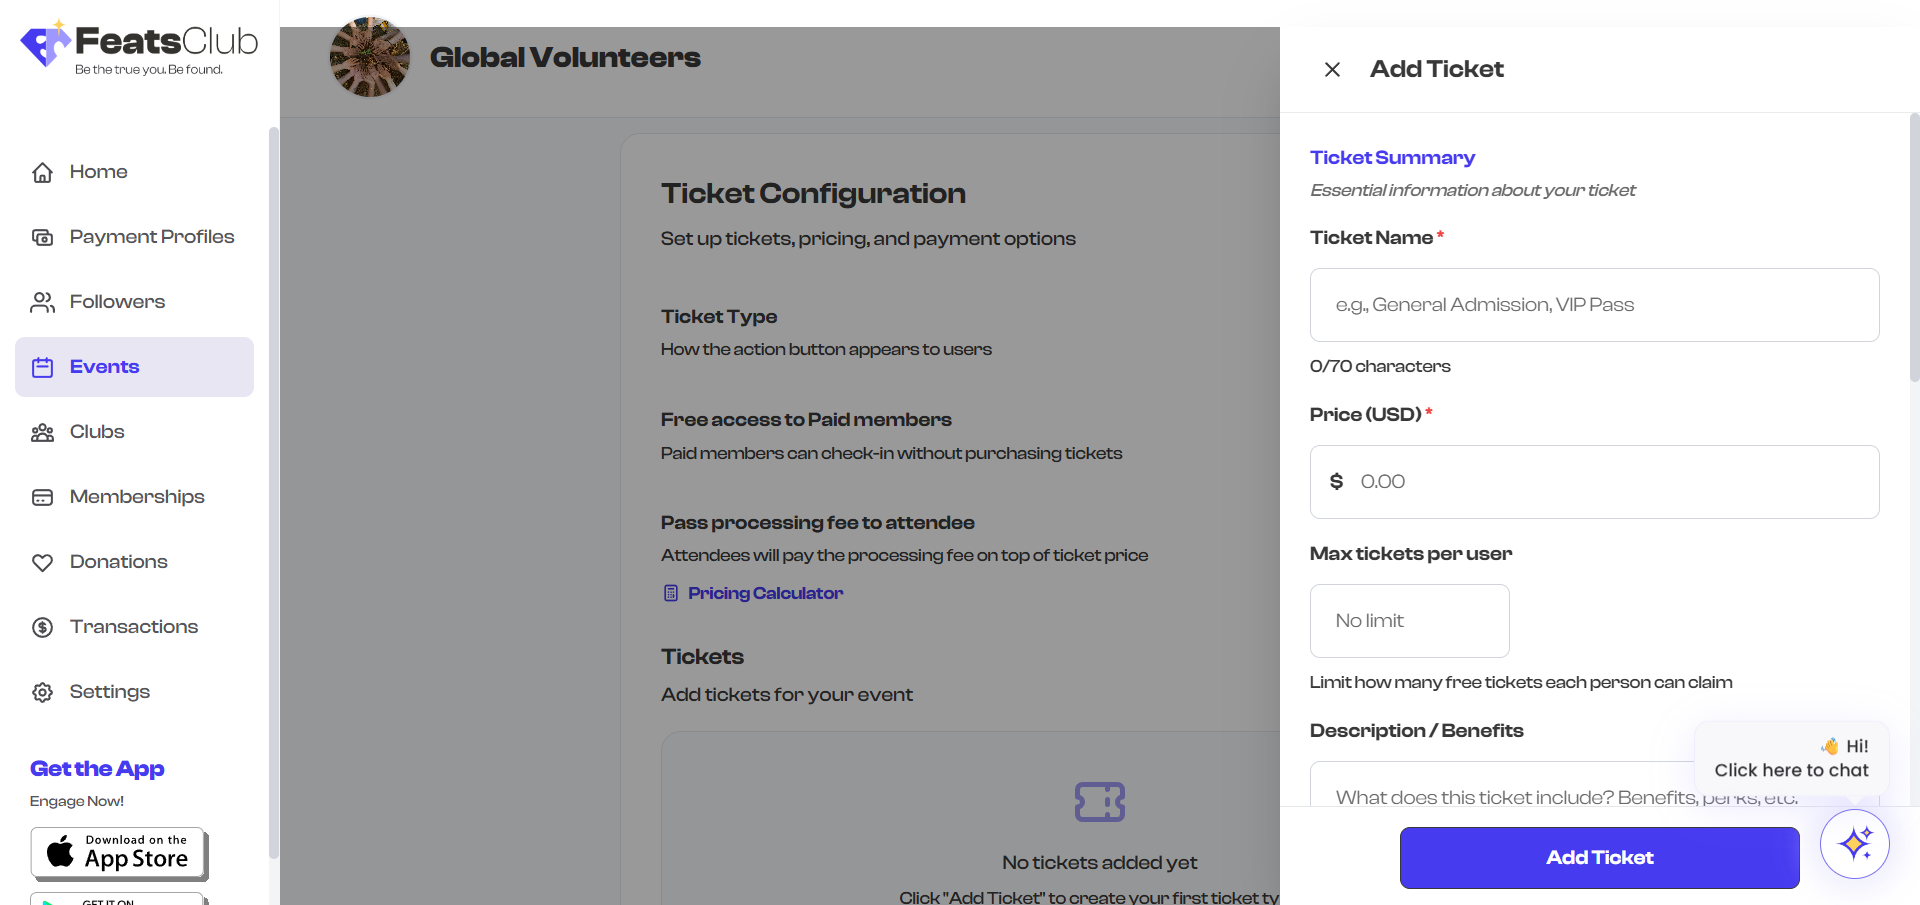
Adding a New Ticket
- Select Add Ticket in the Tickets section. A side panel opens.
- Fill in the Ticket Name (required, minimum 3 characters, maximum 70 characters). Examples: "General Admission," "VIP Pass," "Student Rate."
- Enter the Price. Set to 0 for a free ticket.
- Optionally add a Description / Benefits (up to 500 characters) explaining what the ticket includes.
- Configure any additional options (capacity, validity, forms, etc.) using the settings in the side panel.
- Select Add Ticket at the bottom of the panel.
Each ticket must have a unique name. If you try to save a ticket with a name that already exists, an error message will appear asking you to choose a different name.
Editing a Ticket
To edit an existing ticket, select anywhere on the ticket card. The same side panel opens with all the ticket's current settings pre-filled. Make your changes and select Save Changes.
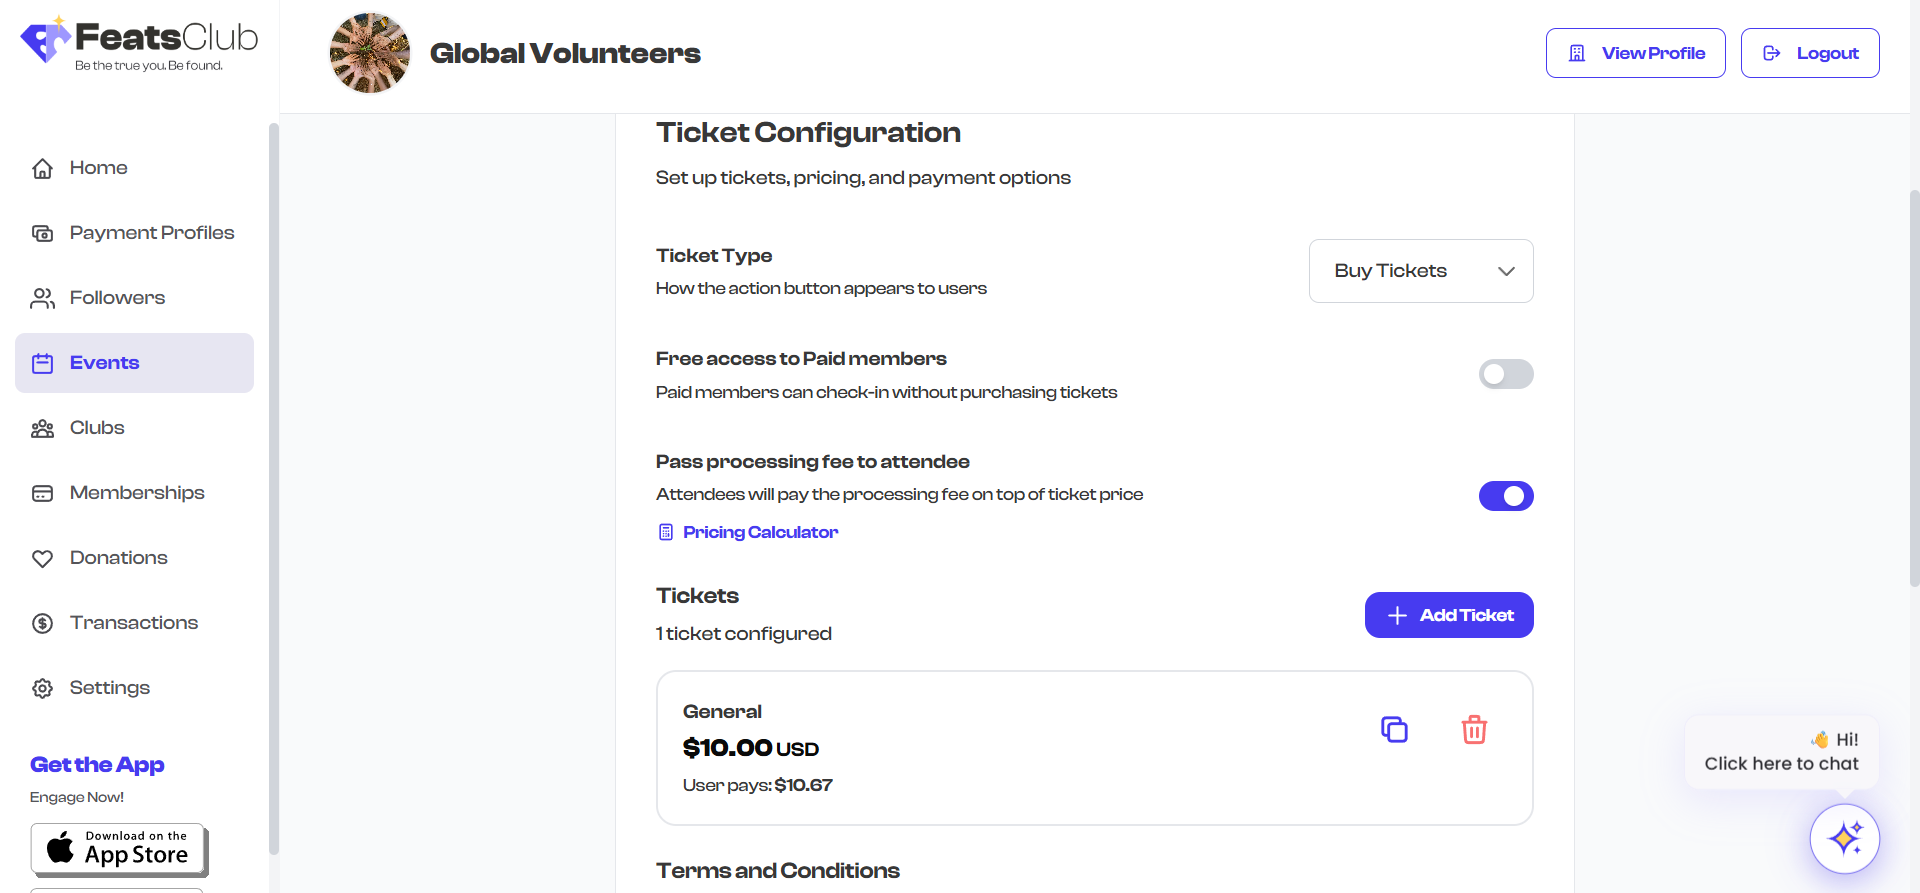
Understanding Ticket Cards
Each ticket appears as a card in the list. The card displays:
- Ticket name -- The name you gave the ticket.
- Base price -- The price you set, shown in your organization's currency.
- User pays price -- If processing fees are passed to attendees, this shows the total the attendee will pay.
- Description -- A one-line preview of the ticket description.
- Feature badges -- Visual indicators for the ticket's settings:
| Badge | Meaning |
|---|---|
| FREE | Ticket price is $0 |
| Limit N/user | Per-user limit set for free tickets |
| Members Only | Restricted to organization members |
| Valid [dates] | Ticket has a validity window |
| +N free | Complimentary passes included |
| Sold Out | Manually or automatically marked sold out |
| Max N | Inventory limit set |
| Participant Form | A participant form is attached |
| Max N/ticket | Group registration (multiple forms per ticket) |
Duplicating a Ticket
To quickly create a similar ticket, use the copy button on the ticket card. This creates a new ticket with all the same settings but with "(Copy)" appended to the name. The new ticket starts with zero sales and a fresh ID.
Duplicating is useful when you need multiple tickets with similar configurations -- for example, creating "VIP - Table A" and "VIP - Table B" with the same pricing and options.
- Find the ticket you want to duplicate.
- Select the copy icon on the right side of the ticket card.
- The duplicated ticket appears at the top of the list.
- Select the duplicated ticket to edit its name and any other settings.
Reordering Tickets
When you have more than one ticket, you can drag tickets to reorder them. The order you set is the order attendees see when browsing your event. A hint message reading "Drag to reorder tickets" appears above the ticket list when multiple tickets are present.
Place your most popular or recommended ticket type at the top for best visibility.
Deleting a Ticket
To remove a ticket type, select the trash icon on the ticket card. The ticket is removed immediately from the configuration.
Deleting a ticket type cannot be undone. If the ticket has already been sold, the sold tickets remain valid -- only new purchases of that ticket type are prevented.
Tips for Effective Ticket Types
- Use clear, descriptive names -- "Early Bird - Until March 15" is more informative than "Ticket 1."
- Add descriptions -- List what each ticket tier includes so attendees can compare options.
- Order strategically -- Put your most popular option first and your premium option second.
- Use badges to your advantage -- Features like validity windows and member-only access are shown as badges, giving attendees quick context at a glance.