Participant Forms
Participant forms let you collect custom information from attendees beyond basic ticket details. You can attach a form to each ticket type to gather data such as dietary preferences, t-shirt sizes, emergency contacts, portfolio links, or any other details you need from participants.
How Participant Forms Work
Each ticket type can have one participant form attached. When an attendee purchases a ticket with a form attached, they are asked to fill out the form as part of the registration process. The form can be collected either before or after payment.
Attaching a Form to a Ticket
- Open the ticket you want to configure by selecting its card.
- In the Participant Forms section of the ticket edit panel, select Select Form.
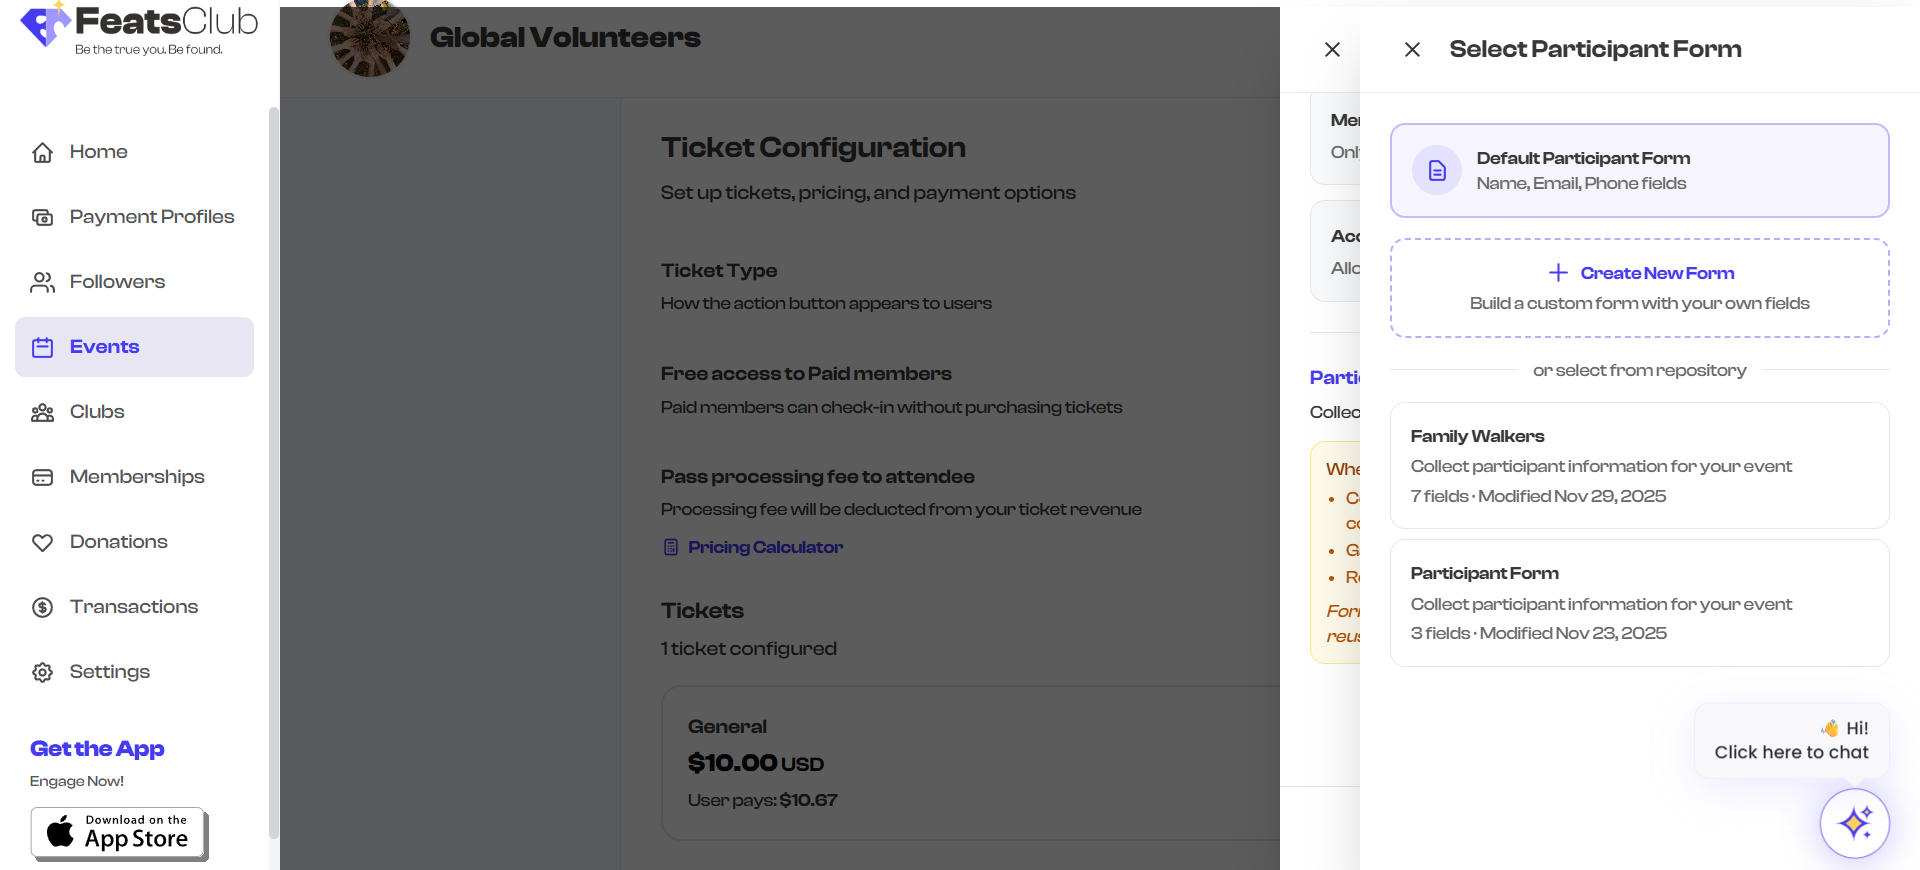
- Choose one of the following options:
- Default Participant Form -- A pre-built form with Name, Email, and Phone fields.
- Create New Form -- Opens the form builder to create a custom form from scratch.
- Select from repository -- Choose an existing form you have previously created.
- After selecting or creating a form, it appears in the Participant Forms section.
- Save the ticket.
Form Options
Default Participant Form
The default form includes three standard fields:
- Name -- Full name of the participant
- Email -- Contact email address
- Phone -- Contact phone number
This is a good starting point if you just need basic contact information from each attendee.
Creating a Custom Form
Selecting Create New Form opens the form builder, where you can design a form with custom fields. The form builder supports a range of field types including text inputs, dropdowns, file uploads, date pickers, and more.
Forms you create are saved to your organization's form repository. Once saved, a form can be reused across multiple events and ticket types without recreating it each time.
Selecting an Existing Form
If you have previously created forms (for this event or any other), they appear in the "select from repository" list. Each entry shows:
- The form title
- The version number (if the form has been modified)
- The date it was last modified
Select any form to attach it to the current ticket type.
Changing or Removing a Form
- To change the form: Select the Change Form button that replaces the "Select Form" button once a form is attached. This opens the form selector panel where you can choose a different form.
- To remove the form: Select the trash icon next to the attached form. The form is detached from the ticket but remains in your repository.
- To preview the form: Select the eye icon next to the attached form. This opens a read-only preview showing all the form fields.
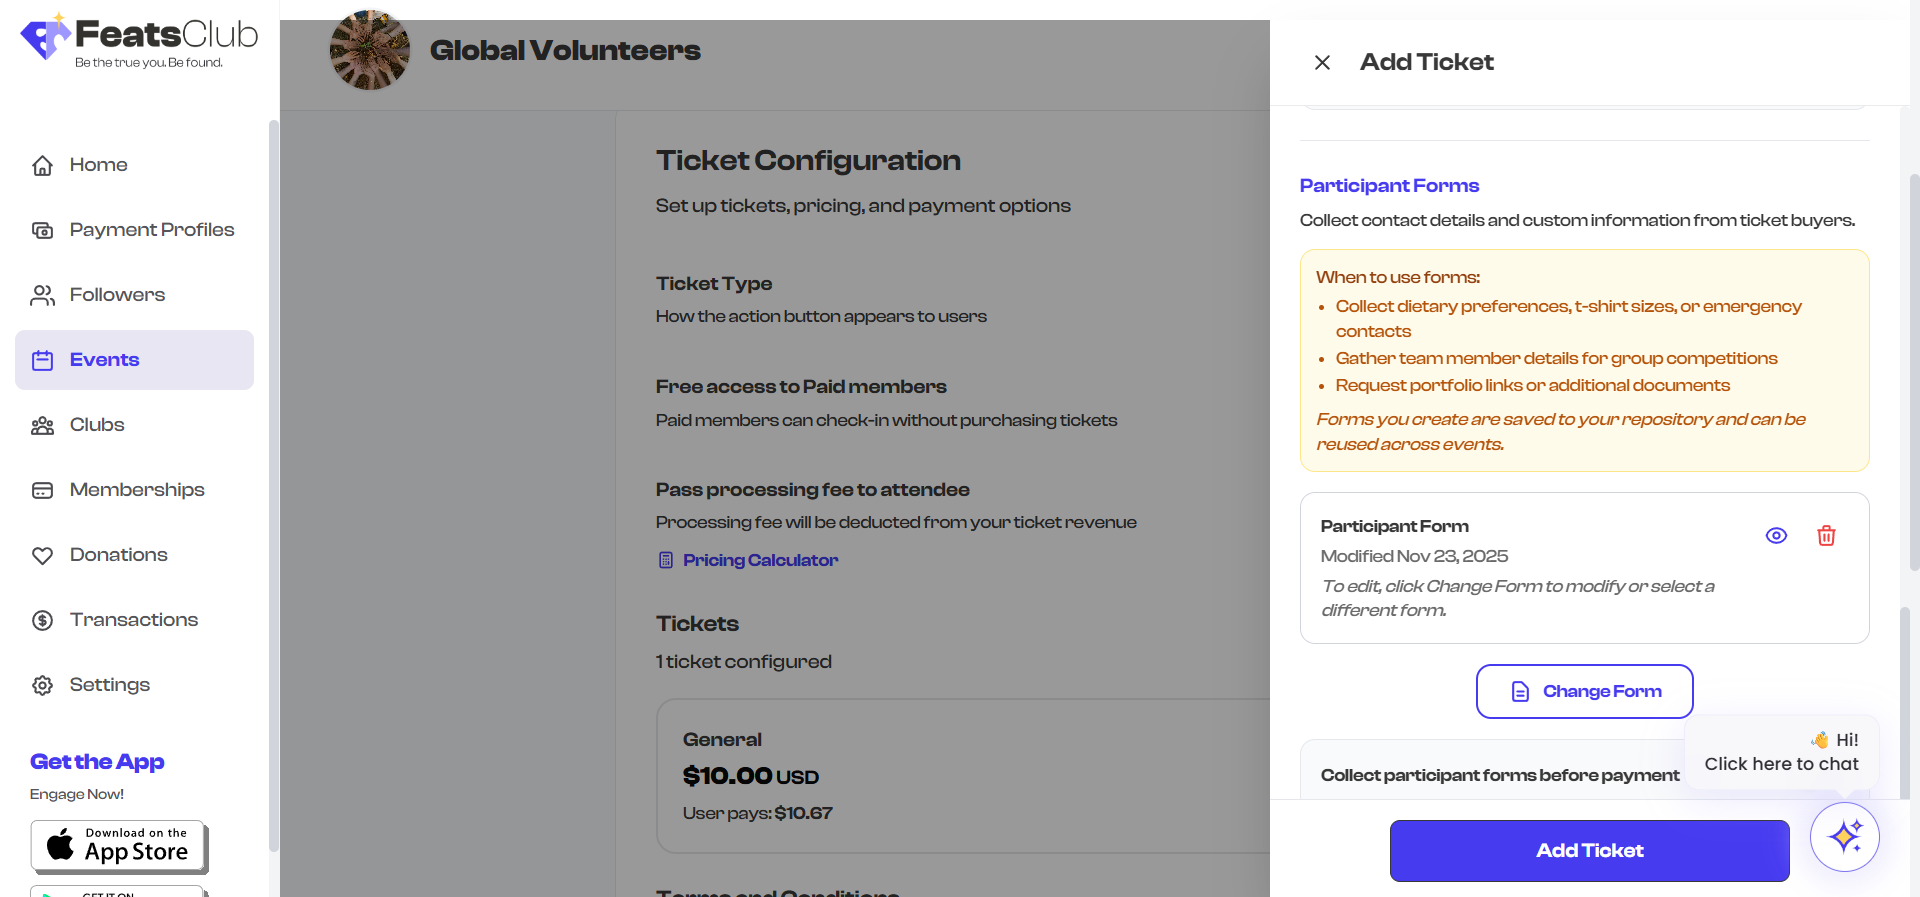
To edit the content of an attached form, select Change Form to open the form selector panel, then modify the form or select a different one. You cannot edit the form directly from the ticket configuration.
Collecting Forms Before or After Payment
When a form is attached, the Collect participant forms before payment toggle becomes available.
- Toggle ON (before payment): Participants must complete the form before proceeding to the payment step. Use this when you need the information to validate the registration (e.g., checking eligibility criteria).
- Toggle OFF (after payment): Participants complete the form after payment is processed. This is faster for the attendee and reduces drop-off during checkout.

For free tickets (price = $0), there is no payment step, so the form is always collected during registration regardless of this toggle setting.
When to Use Participant Forms
| Scenario | Form Fields to Consider |
|---|---|
| Conference registration | Name, email, company, job title, dietary preferences, session preferences |
| Sports competition | Name, age, team name, emergency contact, medical conditions, waiver acknowledgment |
| Workshop | Name, email, skill level, what you hope to learn |
| Hackathon | Name, email, GitHub profile, resume upload, team name |
| Charity run | Name, age, t-shirt size, emergency contact, fundraising page link |
Badges on Ticket Cards
When a participant form is attached to a ticket, a purple Participant Form badge appears on the ticket card in your configuration list. This gives you a quick visual indicator of which tickets collect additional information.